How You Can Spray Paint a Faucet Step by Step
To spray paint your faucet, first turn off the water and remove the handles. Then, clean the faucet thoroughly to remove any grime or buildup.
Next, lightly sand the surface to help the primer stick better. Use painter’s tape to mask off any areas you don’t want painted.
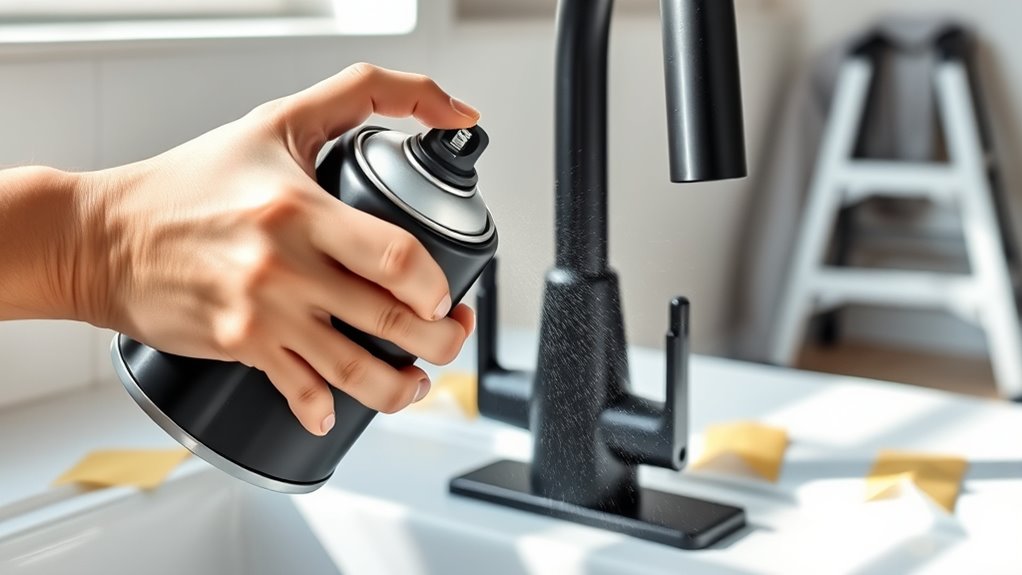
Now, apply an even coat of metal-appropriate primer and let it dry completely. After that, spray on thin coats of paint, allowing each layer to dry before adding the next.
Finally, finish with a clear sealant to protect your work and give it a lasting shine.
Keep reading to discover tips for a flawless finish and make your faucet look brand new!
Key Takeaways
– Clean and sand the faucet surface thoroughly to remove dirt and create a texture for paint adhesion.
This helps the paint stick better and last longer.
– Use painter’s tape and plastic sheeting to mask and protect non-paint areas and surrounding surfaces.
You don’t want any paint where it shouldn’t be.
– Apply a metal-appropriate primer evenly and allow it to dry completely before painting.
This step is key for a smooth finish.
– Spray thin, even coats of paint, letting each coat dry fully to avoid drips and achieve smooth coverage.
Take your time here, it really pays off.
– Finish with a compatible clear sealant for durability, then carefully remove masking tape after drying.
And there you go—your faucet should look great and be protected!
Supplies and Surface Preparation
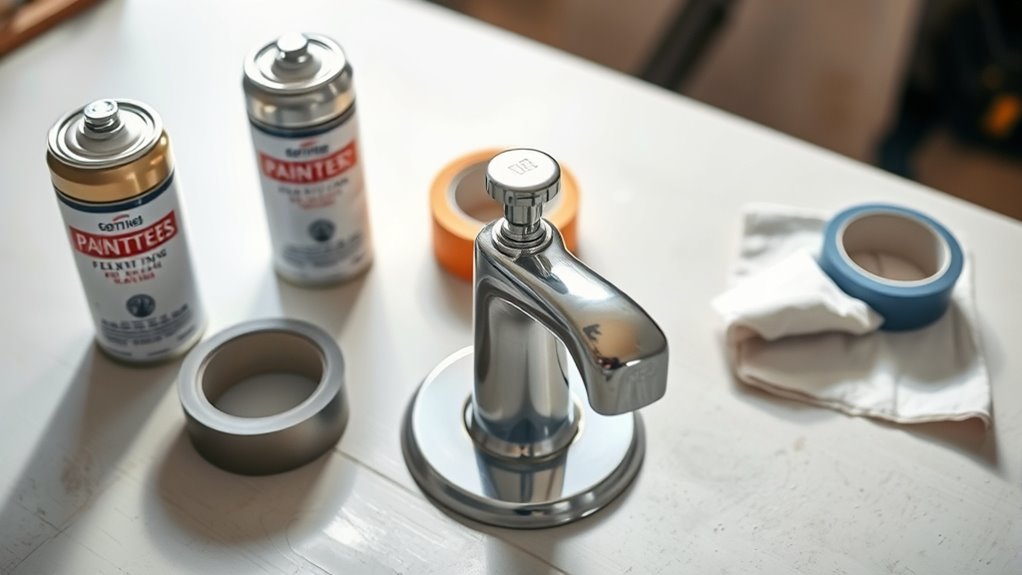
Before you begin painting, gather all the necessary supplies like fine grit sandpaper, painter’s tape, and a metal-appropriate primer. Proper surface preparation is key to a smooth finish on your faucet.
Gather fine grit sandpaper, painter’s tape, and metal primer before starting for a smooth, lasting faucet finish.
Start by turning off the water and removing the faucet handles for full access. Clean the faucet thoroughly with a mild detergent to remove dirt, grease, and mineral deposits.
Once clean, lightly sand the entire surface with 80-150 grit sandpaper to create a texture that helps the primer and paint adhere better. Use masking tape to cover areas you don’t want painted, and protect surrounding surfaces with plastic sheeting to control any overspray.
These steps ensure your supplies and surface are ready for a professional-looking spray paint job. It’s all about setting up right so the finish comes out smooth and lasting.
Painting and Finishing Techniques
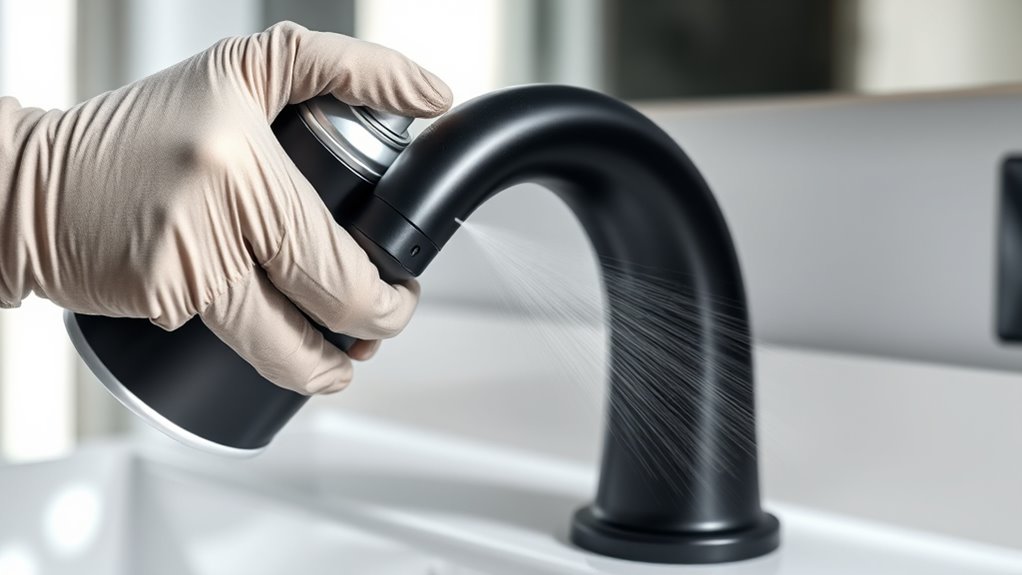
Once you’ve prepped your faucet, you’ll want to apply thin, even coats of spray paint. This helps avoid drips and gives you a smooth finish.
Start with a high-quality primer made for metal. It boosts adhesion and makes the paint last longer.
Spray each coat lightly, and be sure to let it dry fully before adding the next one. This keeps the paint from running and helps it bond properly.
Don’t forget to use masking tape to protect the areas around your faucet. When you’re ready to remove the tape, score the edges carefully with a razor blade. This prevents peeling.
After the last coat has dried, go ahead and apply a clear sealant or lacquer. This shields your finish from moisture and everyday wear.
This final step locks in your hard work, keeping your faucet looking fresh and resistant to damage over time.
Frequently Asked Questions
Can a Faucet Be Spray Painted?
Yes, you can spray paint a faucet. Just make sure you clean and sand it well. Using metal-friendly spray paint is key.
Also, mask off nearby areas to avoid any overspray. Apply the paint carefully for a durable, refreshed look that lasts with proper upkeep.
What Is the Best Paint to Use on Faucets?
You probably don’t want to use kiddie paint on your faucet—go for high-quality, oil-based or enamel spray paint like Rust-Oleum.
It’s designed for metal and moisture, so your faucet won’t peel away in shame.
Trust me, choosing the right paint makes all the difference in durability and finish.
How Can I Change the Color of My Faucet?
You can change your faucet’s color by cleaning, sanding, priming, then spray painting it with metal paint.
Make sure to mask off areas you don’t want to paint. Apply thin coats, and let it cure fully for a smooth, lasting finish.
How to Paint a Faucet?
Painting a faucet is like dressing it for a new occasion. You’ll clean, sand lightly, tape off edges, prime, then spray paint in thin coats.
Let each layer dry fully before the next to guarantee a smooth finish. This way, your faucet will look fresh and last longer.
Conclusion
Spray painting your faucet is like giving your kitchen a fresh splash of personality with every stroke. By prepping your surface carefully and applying paint in smooth, even layers, you’ll transform an ordinary fixture into a standout piece.
Remember, patience and attention to detail are your best tools. With these steps, you’re not just painting—you’re crafting a small masterpiece that brightens your space effortlessly.
Now, go ahead and make that faucet shine! Spray painting a faucet is an easy and creative way to update your kitchen or bathroom without a full renovation. Just follow the step-by-step process, from cleaning and masking to applying primer and spray paint, for a durable and beautiful finish. With a little effort, your freshly painted faucet will add charm and style to your home.