Why Does My Paint Sprayer Splatter and How Do I Fix It
Your paint sprayer splatters because clogged tips, worn parts, or loose fittings disrupt smooth paint flow. Leftover paint, debris, or damaged seals can cause uneven atomization and splatter. These issues prevent the paint from spraying evenly, leading to those annoying spots and drips.
To fix it, clean or replace clogged tips, inspect seals and springs, and make certain all components are correctly assembled and tightened. Using the right tip size and pressure also helps. Getting these details right makes a big difference in how smoothly your sprayer works.
If you want to improve your sprayer’s performance and avoid future splatter, there are practical steps you can take next. Keeping your equipment clean and well-maintained will save you time and frustration down the road.
So, let’s dive into how you can get your paint sprayer working perfectly again!
Key Takeaways
- Paint sprayer splatters because of clogged spray tips, filters, or leftover paint debris messing with the smooth flow of paint.
- Sometimes, damaged or worn seals, valves, or putting the spray tip together wrong can cause uneven atomization and splattering.
- Try spraying without the tip first and check inside parts like seals and springs to spot any damage or wear.
- Be sure to clean and maintain spray tips, nozzles, and filters regularly. This helps prevent clogs and keeps your spray pattern consistent.
- Also, use the right spray tip size, keep the pressure correct, and spray with smooth strokes about 10-12 inches away for even coverage.
Common Causes of Paint Sprayer Splatter
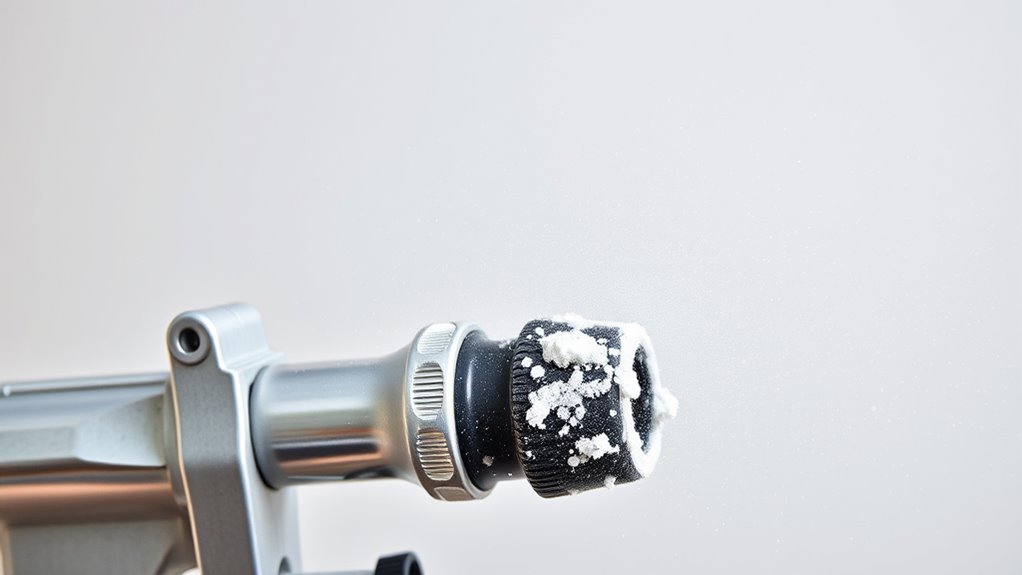
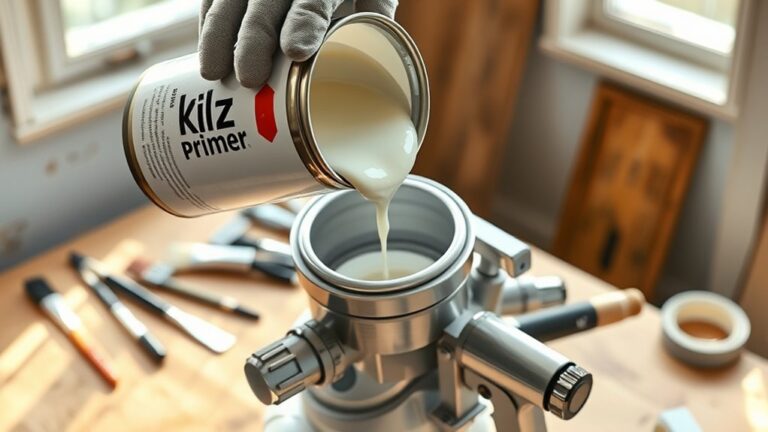
If your paint sprayer is splattering, it’s often because leftover paint or debris is clogging the spray tip or housing, causing uneven atomization. When paint builds up inside your paint sprayers, it disrupts the flow, leading to spatter.
Using a worn or incorrect spray tip or housing worsens this, resulting in inconsistent spray patterns. Don’t forget about the spray gun filter—it traps debris before it reaches the tip, so a clogged filter can cause splatter too.
A worn spray tip or clogged filter can cause uneven spray patterns and paint splatter.
Excessive extension hoses or loose connections might create air leaks or pressure changes that increase splatter. Ultimately, damaged components like seals or valves can prevent smooth paint flow.
Keeping these parts clean and intact helps you avoid common splatter issues during your projects. It’s all about maintaining your equipment so your paint job looks smooth and professional.
Troubleshooting and Fixing Splatter Issues

When you notice splatter during use, start by removing the spray tip and housing. Then, pull the trigger to see if the issue occurs without the tip.
If splattering continues, check your Airless Paint Sprayer’s internal parts like seals, springs, and the pin seat for wear or damage. Replace any parts as needed to keep things running smoothly.
Make sure the spray tip and seal are correctly assembled and tightened. This helps avoid air leaks that can cause splatter.
You might also want to consider installing a Titan anti-spit valve or a Clean Shot device. These can reduce spitting and improve spray consistency quite a bit.
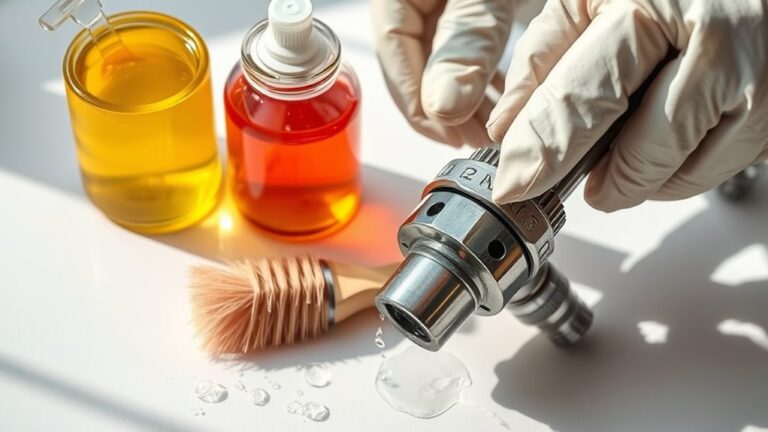
Don’t forget to regularly clean your spray gun, especially the filters and internal components. Keeping debris out will prevent splattering and keep your sprayer working well.
These troubleshooting steps will help you fix issues and maintain smooth operation effectively.
Best Practices to Prevent Splattering and Ensure Smooth Operation
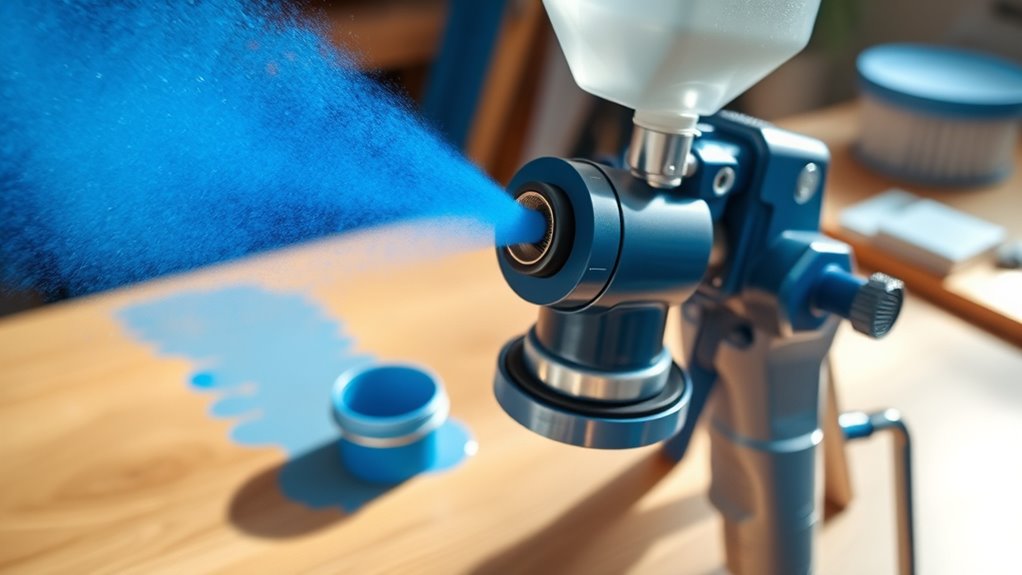
To prevent splattering and keep your paint sprayer running smoothly, you should regularly clean and maintain the tip, nozzle, and filters to avoid clogs. Professional painters need to take specific steps to ensure consistent performance and avoid common issues.
Here are key best practices you need to take:
- Use the correct spray tip size and pressure settings recommended for your paint type to ensure proper atomization.
- Maintain a consistent spray distance of 10-12 inches and apply smooth, even strokes for uniform coverage.
- Avoid excessive extension hoses or improper fittings that cause pressure drops and increase splattering risks.
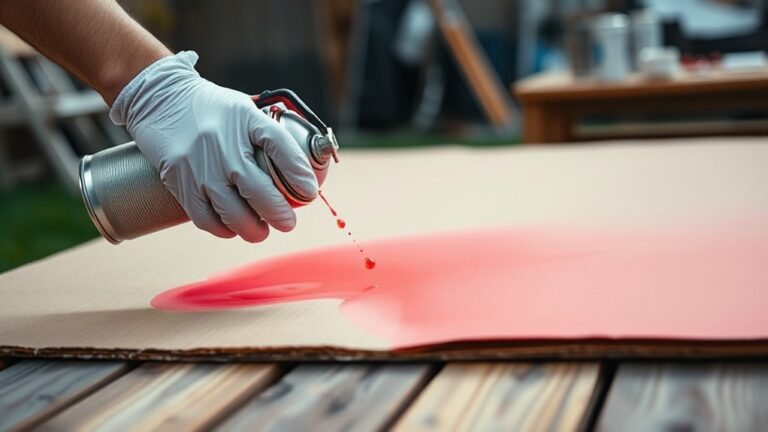
Also, it’s a good idea to test spray patterns on scrap material before starting your project. By following these practices, you’ll minimize splatter and enjoy smooth, professional results every time.
Frequently Asked Questions
How to Get Spray Paint to Stop Splattering?
You can stop spray paint splattering by cleaning the tip thoroughly and using the right tip size. Adjusting the pressure correctly also helps to keep the paint flow smooth.
Make sure to replace any worn parts and hold the sprayer steady. Keep it about 10-12 inches from the surface for even paint flow. This way, you’ll get a cleaner finish without those annoying splatters.
How to Get Spray Paint Not to Splatter?
To tame your paint sprayer’s wild dance, keep your pressure steady and tip size just right. Thin your paint like a gentle breeze, hold 10-12 inches away, and glide smoothly for a flawless, splatter-free finish.
It’s all about finding that perfect balance. When you keep your movements steady and consistent, you’ll avoid those annoying splatters that mess up your work. Plus, thinning your paint just enough helps it flow smoothly without clogging or dripping.
How to Get Rid of Spray Paint Splatter?
You get rid of spray paint splatter by cleaning your spray tip regularly, adjusting the pressure, and ensuring proper assembly.
Use an anti-spit valve and test on scrap surfaces to catch and fix splatter before starting your project.
This way, you can avoid those annoying spots and keep your paint job looking smooth and professional.
How to Stop Spray Paint Spitting?
You can stop spray paint spitting by cleaning the spray tip and housing thoroughly. Replacing worn parts also helps a lot.
Adjust the pressure to manufacturer specs, and consider installing an anti-spit valve or clean shot device. This will guarantee smooth, consistent spraying every time.
Conclusion
If your paint sprayer keeps splattering, don’t let frustration take over—it’s like trying to paint a masterpiece with a firehose! By identifying common causes and troubleshooting carefully, you can fix splatter issues quickly.
Remember, following best practices not only prevents splattering but also keeps your sprayer working smoothly for years. With a little patience and attention, you’ll achieve a flawless finish every time, making your painting projects a breeze.
Fixing paint sprayer splatter is all about understanding what causes it—whether it’s clogged nozzles, incorrect paint thinning, or pressure settings. Once you know the problem, adjusting your technique or cleaning your equipment can stop the splatter. Keep your sprayer maintained and use the right paint consistency, and you’ll enjoy a smooth, even coat every time. This approach not only fixes splattering but also extends the life of your paint sprayer, ensuring your DIY painting projects look professional and polished.