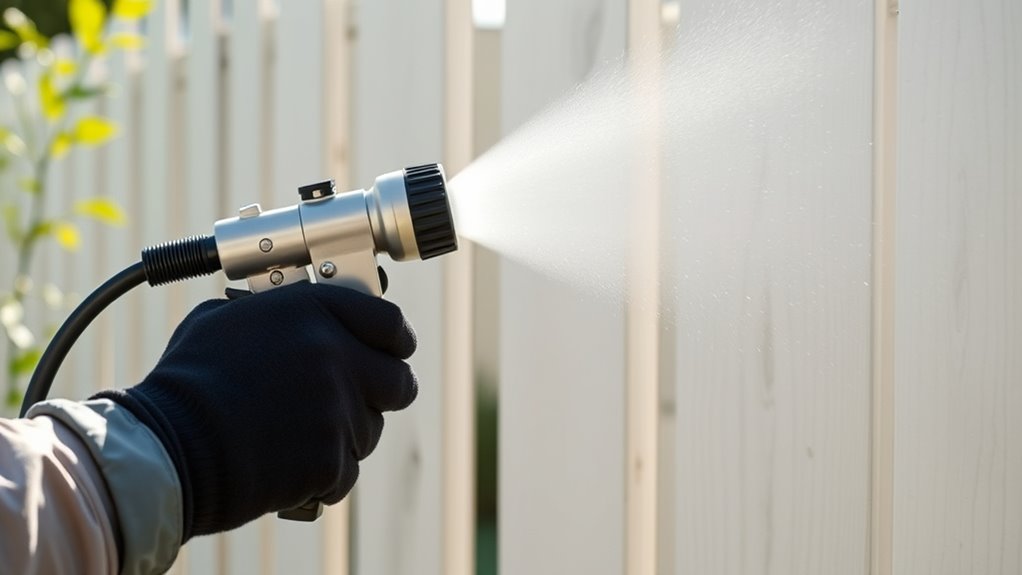
How You Use Latex Paint in a Paint Sprayer
To use latex paint in a paint sprayer, you’ll want to start by thinning the paint about 10-25% with water or a suitable additive. This step is crucial because it ensures a smooth flow and helps prevent clogs in your sprayer.
Next, strain the paint to remove any lumps or debris. This makes sure your finish stays nice and even.
Then, pick a spray tip sized between 0.015 and 0.021 inches based on your sprayer type and how thick your paint is.
After you’ve finished spraying, don’t forget to clean your gun thoroughly. Keeping your equipment in good shape will maintain its performance and extend its life.
Keep these simple steps in mind, and you’ll be able to achieve a professional-looking finish with less hassle.
Plus, as you get more comfortable, you can explore more tips and tricks to perfect your technique.
Key Takeaways
- Thin latex paint 10-25% with water or additive for smooth spraying and to prevent clogs. Straining the paint through a fine mesh before spraying helps remove lumps and debris.
- Select a nozzle size between 0.015 and 0.021 inches based on the paint’s thickness and your sprayer type. This choice makes a big difference in how evenly the paint applies.
- Make sure to clean and flush the spray gun immediately after use. This prevents paint buildup and keeps your sprayer working great for next time.
- Finally, adjust spray parameters according to the paint’s viscosity. Doing this helps you get that even, professional finish you’re aiming for.
Preparing Latex Paint for Spraying

Before you start spraying, you’ll need to prepare your latex paint by thinning it about 10-25% with water or a specialized additive. Thinning latex improves its flow and makes it easier to spray, especially when using an air sprayer or spray gun.
Proper viscosity is key for avoiding clogs and achieving a smooth finish. You can measure the paint’s consistency with a viscosity cup or gauge to ensure it’s just right.
For ideal results, strain the paint through a paint strainer to remove lumps or debris. Whether you’re using a paint sprayer for a small touch-up or larger projects, thinning the paint correctly helps you spray latex paint evenly.
Plus, it reduces the risk of clogging your equipment. This preparation step is essential for spraying latex effectively.
Selecting the Right Spray Equipment and Nozzle

When choosing spray equipment for latex paint, selecting the right nozzle size and type is essential to achieve a smooth, even finish without clogging. For HVLP sprayers, nozzle sizes between 0.015 and 0.021 inches work best, offering fine atomization with minimal overspray.
If your latex paint is thicker or only lightly thinned, opt for larger tips around 0.021 inches to prevent clogging. Thinning latex properly guarantees the right viscosity for your air sprayer and nozzle, improving flow and finish.
Airless sprayers handle thicker latex paint with less thinning and cover large surfaces efficiently, providing even coats. Match your nozzle size and spray equipment to your project’s scale and detail, and you’ll get consistent coverage and a professional-looking result every time.
Cleaning and Maintaining Your Spray Gun
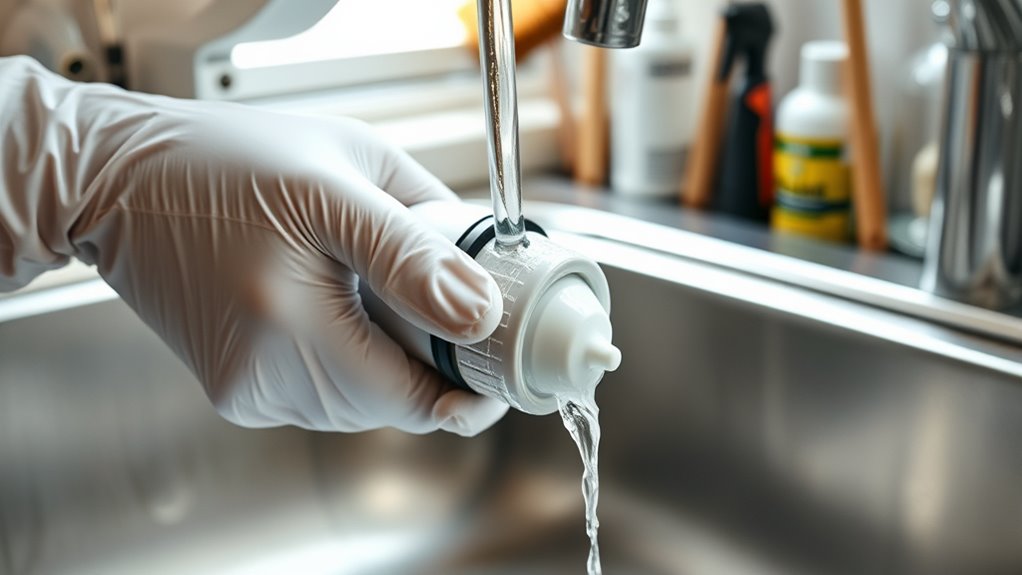
To keep your spray gun performing at its best, you need to clean it immediately after using latex paint. Start by flushing the gun with water or a spray gun cleaner to remove any leftover paint.
Then, disassemble the spray gun, including the nozzle, needle, and air cap. Clean each part thoroughly with warm water and a mild detergent to break down any latex build-up.
Always make sure to dry every part completely before you put it back together. This helps prevent rust from forming.
Regular maintenance is key, too. Check the seals often to make sure they’re in good shape — it helps keep your spray pattern consistent and extends the life of your equipment.
| Step | Action |
|---|---|
| Flush | Rinse with water or cleaner |
| Disassemble | Remove nozzle, needle, air cap |
| Clean | Brush with detergent solution |
| Dry | Wipe and air dry all parts |
| Maintain | Check seals, replace if worn |
Frequently Asked Questions
Does Latex Paint Need to Be Thinned for a Paint Sprayer?
Yes, you usually need to thin latex paint slightly when using a paint sprayer. Thinning improves flow and spray quality.
But don’t overdo it—stick to about 10-15% water to keep adhesion and durability intact. This way, your paint job will look smooth and last longer.
Can You Put Latex Paint in a Paint Sprayer?
You can definitely put latex paint in a paint sprayer, but don’t expect it to work perfectly without prepping.
Thinning and using the right nozzle size are key to avoid clogging and get a smooth finish.
It’s all about getting the consistency just right so your sprayer doesn’t choke up. Just a little prep can make a big difference!
What to Mix With Latex Paint for Sprayer?
You should mix latex paint with water, about 10-15%, or add a flow additive like Floetrol for smoother spraying.
Always stir thoroughly and strain the mixture to avoid clogs and guarantee even application.
This way, your sprayer works better and your paint goes on nice and smooth.
What Type of Paint Sprayer Is Best for Latex Paint?
You’ll find airless sprayers best for latex paint since they handle thicker paints and cover surfaces up to 50% faster.
Just use a larger tip size to avoid clogging and keep your spray smooth and even.
It’s a solid choice if you want to get the job done quickly without fussing over multiple coats. Plus, the finish tends to look really professional.
Conclusion
Now that you’ve prepped your latex paint like a pro and chosen the perfect sprayer, you’re ready to glide through your project with ease. Think of your spray gun as a magic wand, turning walls into smooth canvases with every sweep.
Keep it clean and well-tuned, and it’ll dance like a trusted partner, delivering flawless finishes every time. With these tips, your painting will flow as effortlessly as a gentle breeze on a sunny day.
Using latex paint in a paint sprayer can transform your painting experience, making it faster and more efficient. Just remember to thin the paint if necessary, choose the right sprayer nozzle, and maintain your equipment regularly. This way, you’ll achieve professional-looking results that are smooth, even, and long-lasting. So, get ready to enjoy a hassle-free painting project with your sprayer and latex paint combo!





2 Comments