Do You Need to Thin Paint for a Wagner Sprayer and How to Do It
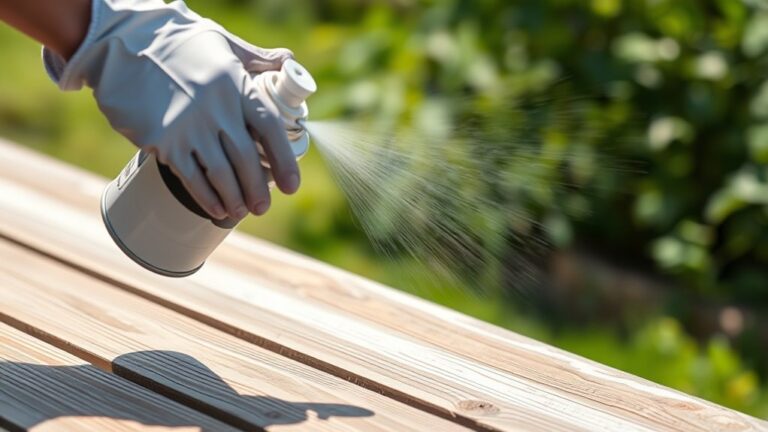
You usually need to thin paint for your Wagner sprayer to guarantee it flows smoothly through the nozzle, preventing clogging and uneven coverage. Thinning paint helps avoid those frustrating splatters and ensures a nice, even coat every time.
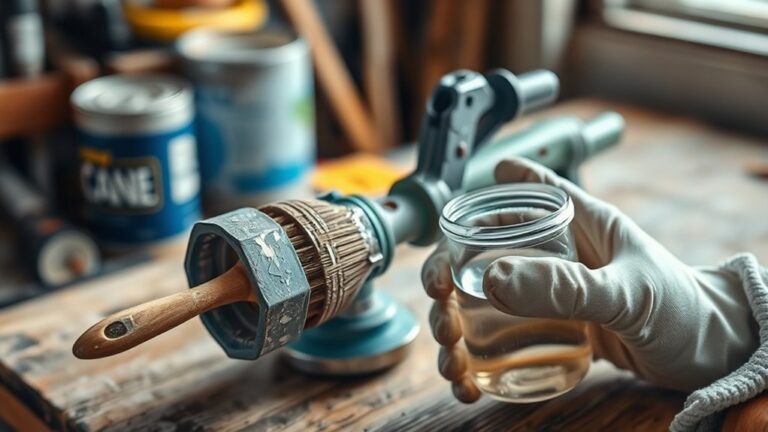
For water-based paints, add about 10% water or a suitable conditioner and stir well.
Make sure to strain the paint for consistency and test spray on a scrap surface before starting your project. Oil-based paints require specific thinners, so be sure to use the right one for your paint type.
Proper thinning gives you a smooth, even finish, and understanding the right ratios and techniques can improve your results considerably. It’s all about getting that flawless look without wasting paint or time!
Key Takeaways
- Thinning is often necessary for Wagner sprayers to ensure smooth flow and prevent nozzle clogging, especially with smaller detail tips.
- Use about 10% water or Paint Easy for water-based paints to achieve a consistency similar to pancake batter.
- Always strain the thinned paint through a mesh filter and stir thoroughly before spraying for uniform application.
- Test spray on scrap material to check spray pattern and coverage, adjusting thinning as needed for optimal results.
- Follow paint manufacturer thinning guidelines, as ratios vary by paint type and surface conditions to maintain adhesion and durability.
When and Why to Thin Paint for Wagner Sprayers
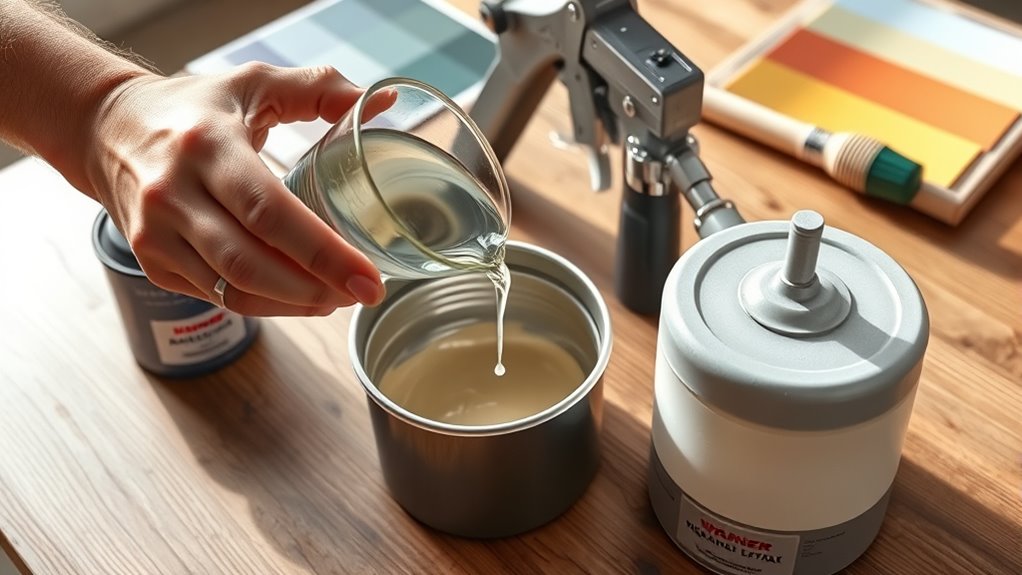
When you’re using smaller detail nozzles on your Wagner sprayer, thinning the paint becomes essential to achieve a smooth, even finish. Using the best paint sprayer like the Wagner FLEXiO, you want your water-based paint to flow properly through the nozzle, ensuring a consistent spray pattern.
Thinning helps prevent clogging and avoids rough textures like orange peel that can ruin a coat of paint. To get the best results, mix thoroughly and strain your paint before thinning, following manufacturer guidelines.
This improves atomization and coverage, so your spray goes on evenly without splattering or patchiness. Keep these tips and tricks in mind to maximize your sprayer’s performance and get a flawless finish every time you spray.
How to Properly Thin Paint for Optimal Spray Performance
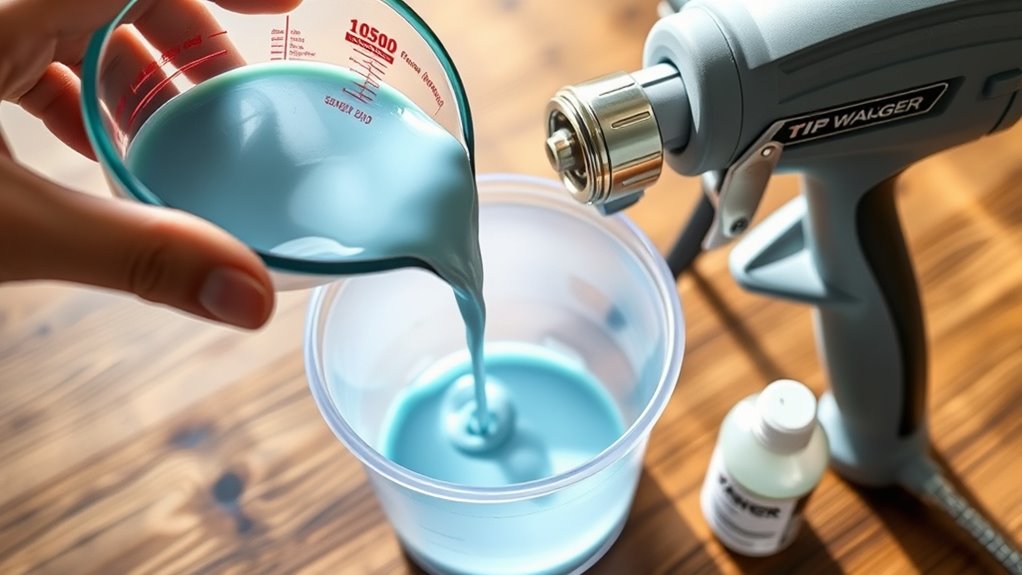
To get the best results from your Wagner sprayer, you need to thin your paint properly. Start by adding about 10% water or Paint Easy to achieve a paint consistency similar to pancake batter. This helps improve atomization and creates a smooth spray pattern, especially with detail sprayers like the Wagner FLEXiO.
After thinning the paint, strain it through a mesh filter to prevent clogs and maintain a consistent spray width. Stir the mixture thoroughly and test spray on a scrap surface to check spray coats and coverage.
Always spray in a well-ventilated spray shelter to guarantee safety. And remember, follow the paint manufacturer’s guidelines to avoid compromising paint adhesion and durability. Proper thinning ensures even coats and excellent spray performance every time.
Paint Types and Compatibility Considerations

Since different paints vary in composition and thickness, you’ll need to adjust thinning methods accordingly for your Wagner sprayer. Paint types like water-based paints (latex, acrylic) usually require water or water-based additives to match the right viscosity.
Oil-based paints need mineral spirits or specific conditioners, but thinning too much can compromise adhesion and durability. Always follow the manufacturer’s instructions for the recommended thinning ratio to maintain spray consistency.
Proper surface preparation and applying multiple coats of paint can also affect thinning needs. So, it’s good to keep these factors in mind when you’re getting ready to spray.
| Paint Type | Thinning Medium |
|---|---|
| Water-based | Water or water-based additives |
| Oil-based | Mineral spirits or conditioners |
| Manufacturer’s Instructions | Specific thinning ratio to follow |
Adjust thinning carefully for ideal spray performance.
Frequently Asked Questions
Does Acrylic Paint Need to Be Thinned for a Sprayer?
Yes, you usually need to dilute acrylic paint for a sprayer. Add about 10-20% water until it reaches a pancake batter consistency, then strain it.
Test spray on scrap to ensure smooth, even coverage. This helps you avoid clogs and get a nice finish.
Do I Need to Dilute Paint for an Airless Sprayer?
Of course, you don’t need to dilute paint for an airless sprayer—if you enjoy clogged nozzles and uneven splatters.
But seriously, you should thin it slightly to guarantee smooth flow and flawless coverage every time.
Can You Spray Paint Without Thinning?
You can spray paint without thinning if the paint is already thin enough for your sprayer.
However, thick paints often clog or spray unevenly, so thinning usually improves performance and finish quality.
It’s a good idea to check your paint’s consistency before you start. That way, you can avoid any annoying splatters or clogging issues.
Can You Use Any Paint in a Wagner Sprayer?
You can’t use just any paint in a Wagner sprayer. Stick to water-based or compatible paints, and avoid thick or oil-based types unless properly diluted.
Always check manufacturer guidelines to prevent clogs and ensure smooth spraying. It really helps to keep your sprayer working great!
Conclusion
You don’t always need to thin paint for your Wagner sprayer, but when you do, it’s about balance—too thick, and you clog; too thin, and you lose coverage.
Thinning just right means smoother sprays, fewer drips, and better finishes. Coincidentally, the paint type often decides the dance, so check compatibility.
Remember, a little patience thinning paint today saves a lot of frustration tomorrow. It makes your project flow with ease and precision.
In short, understanding when and how to thin paint for your Wagner sprayer is key. It ensures optimal spray performance and a flawless finish. So, always test your paint’s consistency before starting. This simple step will help you avoid clogs and uneven coverage, making your painting experience much smoother and more enjoyable.


One Comment