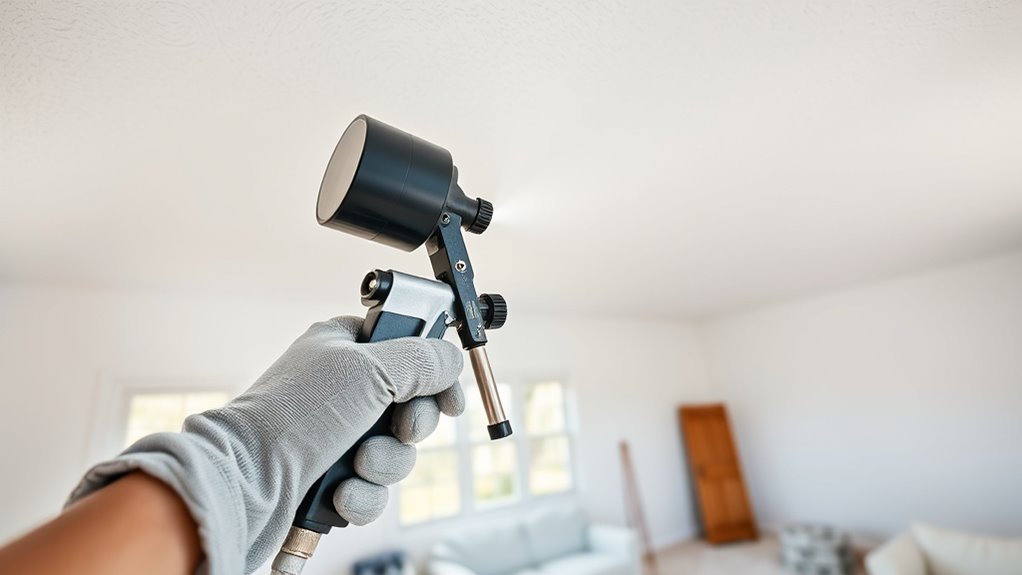
How You Use a Paint Sprayer for Ceilings Step by Step
First, prepare your paint sprayer and connect it to your ceiling paint. Priming the machine is an important step to ensure smooth application. Set the pressure between 1500-2000 PSI for optimal coverage.
Next, test the spray pattern on cardboard. Adjust the pressure until the coverage is smooth and even. Holding the sprayer about 12 inches from the ceiling, keep your strokes steady while slightly overlapping each pass.
Work in small sections to avoid streaks and lap marks. By following these steps, you’ll be ready to achieve a professional ceiling finish with ease.
Using a paint sprayer for ceilings can save you time and give your room a perfectly even coat.
Key Takeaways
- Prepare the paint sprayer by priming it and connecting it to the ceiling paint container. Make sure it is fully pressurized before you start.
- Set the PSI dial between 1500-2000, then test the spray pattern on drywall or cardboard from about 12 inches away. This helps you see how the paint will come out.
- Adjust the pressure until you get a wide, even spray pattern without any gaps, runs, or streaks. You want it smooth and consistent.
- Hold the sprayer about 12 inches from the ceiling and keep the gun perpendicular to the surface. Spray in small, overlapping sections to cover everything evenly.
- Work methodically, keeping the distance and pressure steady throughout. This will give you uniform coverage and a professional-looking finish.
Preparing and Setting Up Your Paint Sprayer
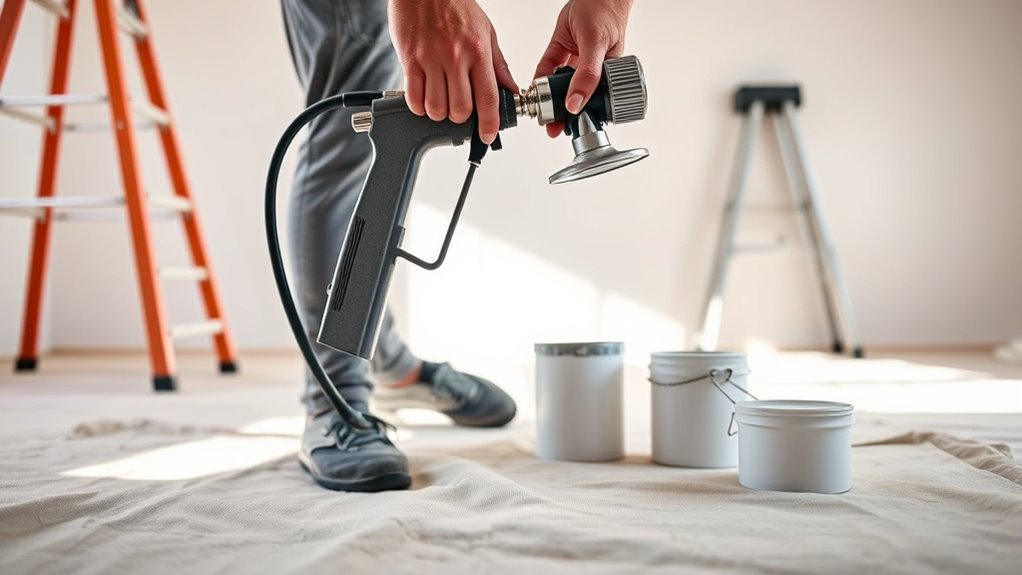
Before you start painting your ceiling, make sure you rent or acquire an airless paint sprayer from a Home Depot or local paint store. Verify it’s fully charged and pressurized before you begin.
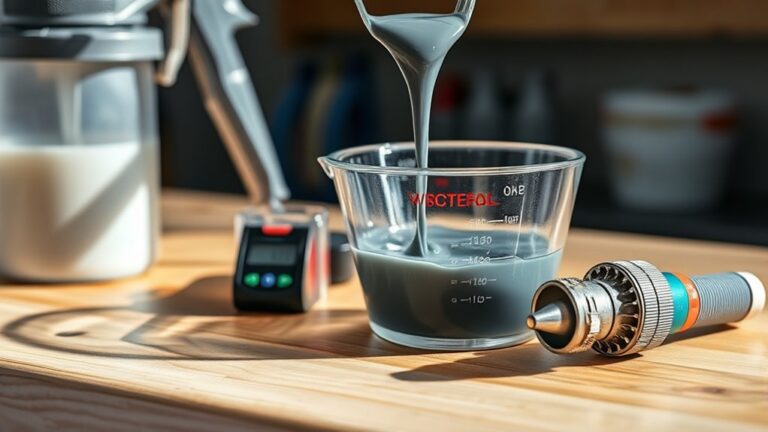
Connect the spray hose to your ceiling paint container, switching from primer if needed. Prime the machine by lifting the priming switch to fill the paint line, then repressurize as necessary.
Attach the hose to your paint container, prime the sprayer, and repressurize before starting.
To get a consistent spray, adjust the PSI dial to a mid-range setting, typically between 1500 and 2000 PSI. This usually works well for flat ceiling paint.
Test the spray pattern on scrap drywall, aiming for a wide spray about 12 inches across at a 12-inch distance. Make sure the spray pattern is even and consistent before beginning, and adjust pressure if the coverage isn’t uniform.
Adjusting Spray Settings and Testing the Pattern
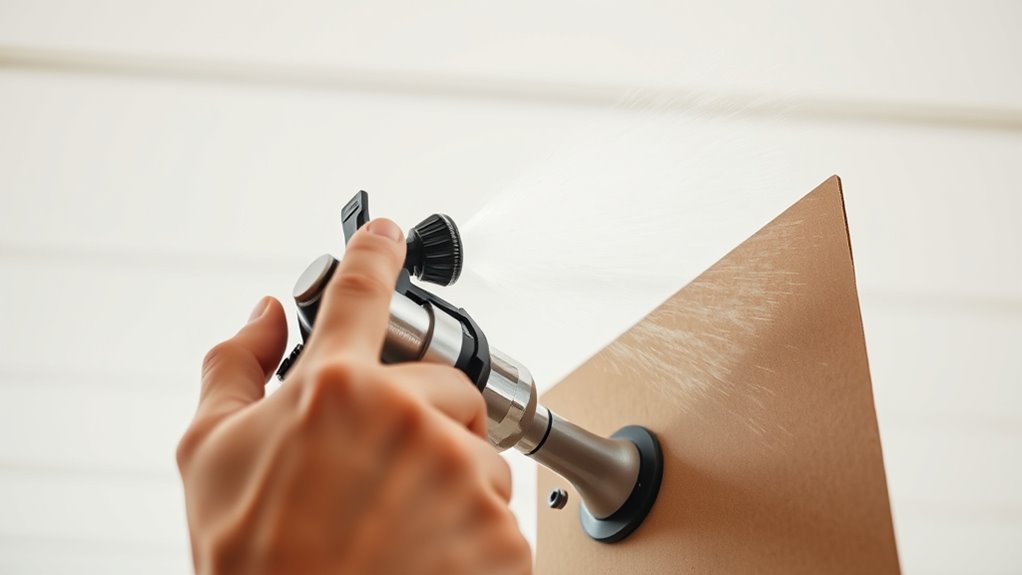
Once you’ve set up your paint sprayer and primed it properly, you’ll need to fine-tune the spray settings to get the best results on your ceiling. Start by adjusting the PSI dial, usually between 1500-2000 PSI, to control the pressure.
Then, test the spray pattern on drywall or cardboard from about 12 inches away. Look for even coverage without gaps or streaks. If you see inconsistencies, adjust the pressure accordingly.
- Set PSI to achieve a smooth, consistent spray pattern
- Hold sprayer 12 inches from test surface
- Increase pressure if the spray pattern has gaps
- Decrease pressure if paint drips or runs occur
- Repeat tests until you get uniform coverage and consistent flow
This guarantees ideal coverage and prevents uneven application when you paint your ceiling. It’s worth spending the time to get this just right before you start.
Applying Paint Evenly and Efficiently on Ceilings

Although applying paint to a ceiling can be challenging, maintaining a consistent 12-inch spray distance and steady, overlapping strokes will help you achieve even coverage.
Adjust the pressure for a smooth spray pattern, avoiding gaps or streaks. Keep the spray gun perpendicular and work in small sections, overlapping each pass slightly to ensure a uniform finish without lap marks.
Test the spray pattern on scrap material before starting to fine-tune your tool setup. This approach guarantees ideal paint coverage and an efficient process.
| Step | Tip |
|---|---|
| Consistent Distance | Keep sprayer 12 inches from ceiling |
| Pressure Adjustment | Fine-tune PSI for smooth spray |
| Spray Pattern | Test on scrap before painting |
| Overlapping Strokes | Move in steady, overlapping passes |
| Work in Sections | Paint small areas for uniform finish |
Frequently Asked Questions
Can You Spray Ceilings With a Paint Sprayer?
Yes, you can spray ceilings with a paint sprayer. Just keep the sprayer about 12 inches away.
Make sure to maintain steady, perpendicular strokes, and adjust the pressure properly. This technique guarantees a smooth, even finish quickly and efficiently.
What’s the Quickest Way to Paint a Ceiling?
The quickest way to paint a ceiling is to sprint through it with an airless sprayer, holding it just right, moving steady and overlapping perfectly—like you’re painting lightning, not just a room.
You’ll finish in no time!
What Paint Sprayer Is Best for a Ceiling?
You’ll want an airless paint sprayer with adjustable pressure and a wide spray pattern, ideally handling thick latex paints.
Look for one with a 12-inch spray width and easy cleanup to get smooth, even ceiling coverage fast.
This way, you can cover large areas quickly without worrying about drips or uneven spots.
Plus, sprayers that are easy to clean save you a lot of hassle afterward!
What to Spray First, Ceiling or Walls?
Think of the ceiling as your room’s sky—start there first. You’ll prevent paint drips on walls and create a clean canvas, letting you finish with precision.
Spraying ceilings before walls keeps your work crisp and flawless. It’s all about making the whole process smoother and cleaner.
Conclusion
Now that you’ve mastered the setup and tested your sprayer, the real challenge begins. Applying paint evenly on ceilings isn’t just about technique—it’s about timing, control, and patience.
As you move the sprayer methodically, watch for those subtle changes that signal perfection or the need to adjust. Keep your focus sharp, because the final result will reveal whether all your careful preparation truly paid off.
Using a paint sprayer for ceilings can be a game-changer when done right. With steady hands and the right approach, you’ll achieve a smooth, even coat that brushes alone often can’t match. Ready to see your ceiling transformed with a flawless finish? Let’s get spraying!




One Comment