

How You Can Paint Furniture With Spray Paint Step by Step
Start by removing hardware and cleaning your furniture thoroughly. Give it a good wipe down to get rid of any dirt or grime. Then, sand lightly to create a smooth surface and wipe off the dust.
Set up your workspace with protective coverings and make sure there’s good ventilation. This will keep your area clean and safe while you paint.
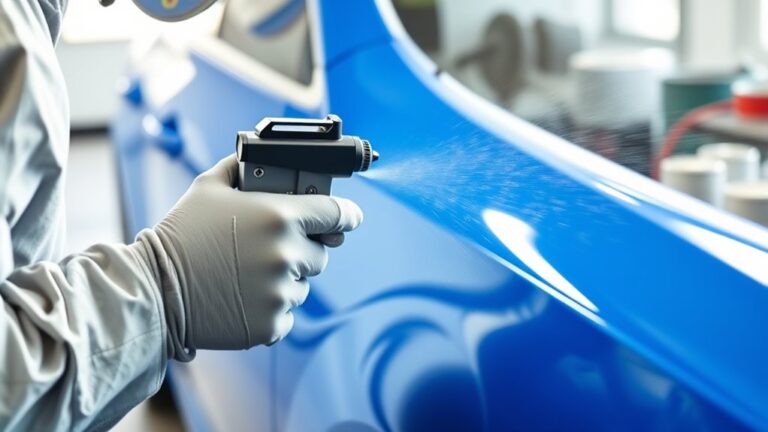
Shake your spray paint can well before you start. Hold it about 6-8 inches away from the furniture and apply thin, even coats using overlapping strokes. This helps avoid drips and ensures an even finish.
Let each coat dry fully and sand lightly between layers to keep the surface smooth. Finish with a topcoat for durability and long-lasting protection.
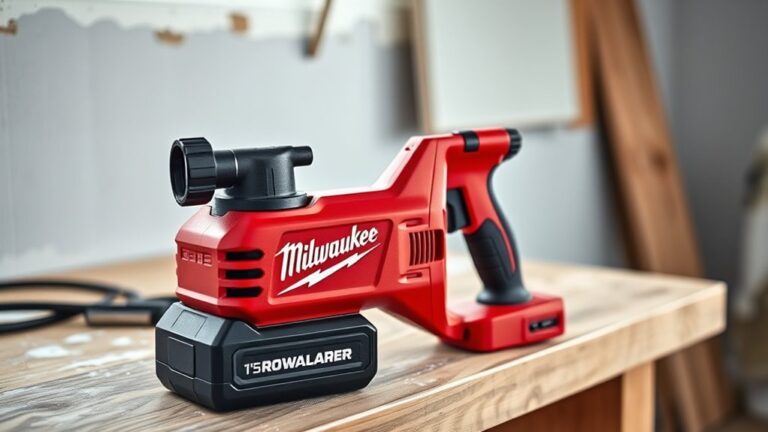
Keep your spray gun settings consistent to achieve smooth, professional-looking results. Keep going to discover tips for flawless layers and finishes that really make your furniture pop!
Key Takeaways
- Remove hardware and clean furniture thoroughly. Then, sand lightly with 320-grit sandpaper before wiping away dust.
- Protect your workspace with drop cloths and painter’s plastic. Tape edges to avoid overspray on unwanted areas.
- Shake the spray paint can for at least one minute. Hold it 6-8 inches from the surface for an even, misted application.
- Apply thin, overlapping coats. Allow 2-4 hours to dry between layers and lightly sand between coats for smoothness.
- Follow drying instructions, maintain proper spray settings, and make sure you’re in a clean, well-ventilated area. This will help you get a durable, professional finish.
Preparing Your Furniture and Workspace

Before you begin painting, make sure you remove all hardware, drawers, and any removable parts from your furniture. Removing hardware guarantees you get a smooth, even finish without missed spots.
Remove all hardware and drawers before painting to ensure a flawless, even finish without missed spots.
Next, clean the surface thoroughly with a degreaser or mild soap and water to achieve a clean surface free of dirt and grease. Once dry, lightly sand the furniture with 320-grit sandpaper, following the wood grain, to help the paint adhere better.
Wipe away dust and sanding residue with a tack cloth for an immaculate base. For workspace preparation, cover surrounding areas with painter’s plastic or a drop cloth, tape edges carefully, and set up a spray tent if possible.
Properly covering the area and preparing furniture like this prevents overspray and keeps your workspace tidy. It makes the whole painting process a lot smoother and less messy!
Applying Primer, Paint, and Topcoat With a Spray Gun

Once your furniture is prepped and your workspace is ready, you can move on to applying primer, paint, and topcoat with your spray gun. Shake the primer or spray paint can vigorously for at least a minute to mix it well.
Hold the spray gun about 6-8 inches from the surface, using a fine mist setting with a detail spray nozzle. Apply thin coats with overlapping passes to ensure even coverage and avoid drips.
After each coat, allow proper dry time—usually 2-4 hours—and perform light sanding to smooth the surface. Adjust your spray gun’s air pressure and flow settings as recommended for primer, paint, and topcoat.
This careful surface preparation and layering will give your furniture a smooth, durable finish. It’s worth taking your time here to get the best results.
Frequently Asked Questions
How Long Does It Take Spray Painted Furniture to Dry?
Spray-painted furniture usually dries to the touch within 30 minutes to an hour. But for the paint to fully cure, you should wait 24 to 48 hours.
Applying thin coats helps speed up the drying process. Just keep in mind, if you add a topcoat, that might add a bit more time before everything is completely dry.
Is It a Good Idea to Spray Paint Furniture?
Yes, spray painting furniture is a great idea. You’ll get a smooth, professional finish quickly, reach tricky spots easily, and create a durable, refreshed look.
Just prep well and use proper technique to avoid common issues. It’s pretty straightforward once you get the hang of it!
How Do You Seal Spray Painted Furniture?
You seal spray-painted furniture by applying a clear topcoat like polycrylic or Gator Hide after the paint dries. Use a clean brush or spray, sand lightly between coats, and let it cure at least 24 hours for protection.
This helps protect your paint job and gives your furniture a nice finish. Just make sure each coat is dry before adding the next one, and take your time with the curing process to get the best results.
What Kind of Spray Paint Can You Use on Furniture?
You can use spray paints labeled for furniture or multi-surface use—water-based or oil-based for wood.
Fun fact: 70% of DIYers prefer fine mist sprays to avoid drips and get smooth, even finishes on furniture.
It really helps to keep your project looking professional without too much hassle. So, choosing the right spray paint makes a big difference!
Conclusion
Now that you’ve mastered each step, your furniture is almost ready to shine. But before you rush to show it off, there’s one final secret to achieving that flawless finish.
It’s all in the drying and curing—patience pays off here. Trust me, once it’s fully set, you’ll be amazed at how professional and smooth your piece looks.
Get ready to transform your space with that perfect spray-painted glow! Taking the time to let your spray paint cure properly ensures durability and a beautiful finish that lasts. So, give your furniture the care it deserves, and enjoy the stunning results of your spray paint project!




2 Comments