How You Put Primer in a Paint Sprayer Step by Step
To put primer in your paint sprayer, start by checking the manufacturer’s instructions carefully. This step helps you understand the specific requirements for your sprayer model and ensures you use the right type of primer.
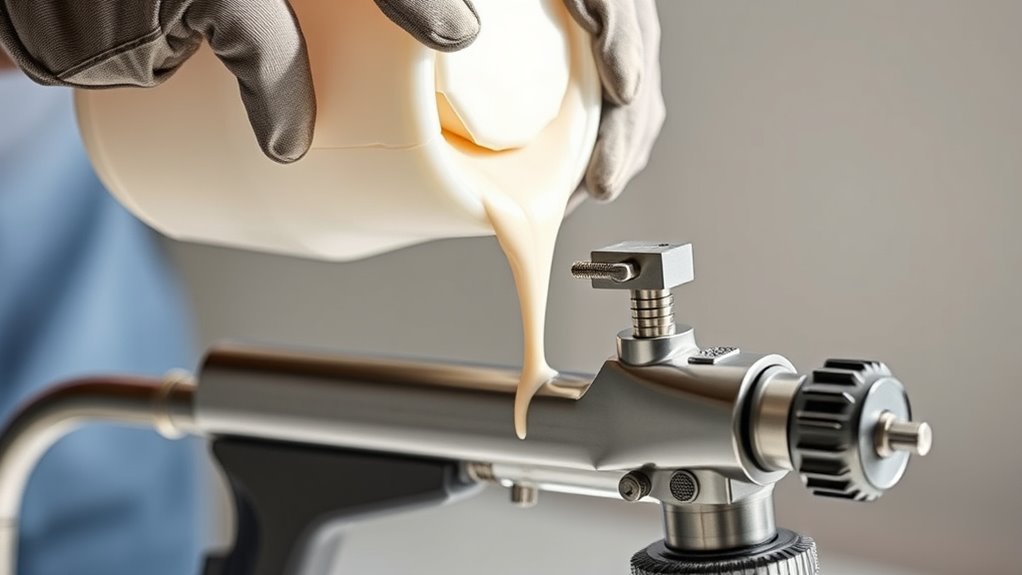
Next, strain the primer through a fine mesh filter to avoid clogs in the sprayer. Pour the primer into the reservoir, but be careful not to overfill it.
Make sure the primer is properly mixed or thinned if needed for a smooth spray.
Attach the container securely to the sprayer, then adjust the nozzle and pressure settings. This helps achieve an even and smooth primer application.
Before you begin the full job, do a quick test spray to check the flow and coverage. Keep practicing, and you’ll find tips to perfect your primer application process in no time!
Key Takeaways
– Check the primer’s dilution instructions and strain it through a fine mesh filter to remove debris before use.
This helps ensure a smooth finish without any clogs in your sprayer.
– Pour primer into a clean container and dilute if necessary, maintaining the recommended consistency for smooth spraying.
Getting the right mix is key so the primer sprays evenly and doesn’t clog up your equipment.
– Fill the spray reservoir up to the recommended level, ensuring the primer is properly filtered to avoid clogs.
Don’t overfill — it’s better to pour slowly and double-check the amount.
– Securely attach the spray container to the sprayer, adjust pressure and nozzle settings based on primer viscosity.
These settings make a big difference in how well your primer applies, so take a moment to get them right.
– Test spray to prime the system, then apply primer with even, overlapping strokes at a consistent distance and speed.
This helps cover the surface evenly and avoids streaks or missed spots.
Preparing the Primer for Spraying
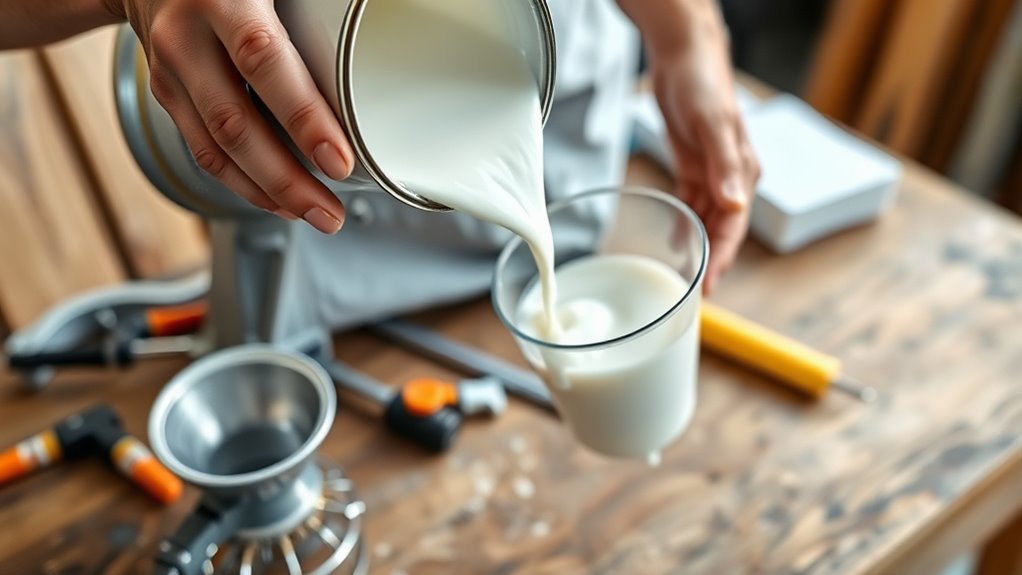
Before you pour primer into your paint sprayer, check the manufacturer’s instructions to see if you need to dilute it. Proper primer preparation is essential for a smooth application.
Always consult the manufacturer’s guide to determine if primer dilution is necessary for an even spray finish.
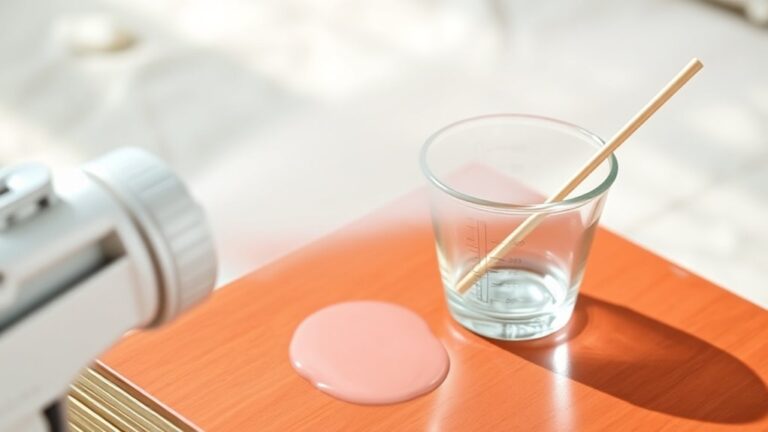
Start by straining primer through a fine mesh filter to remove lumps or debris that might clog your sprayer. If dilution is required, use a clean container for mixing primer, measuring carefully to maintain the right primer consistency.
Thoroughly stir the primer to ensure uniform thickness before filling the spray reservoir. Remember to fill the reservoir only up to the recommended level to avoid spillage and maintain proper pressure inside the sprayer.
Taking these steps helps you achieve a flawless finish and keeps your equipment running smoothly.
Setting Up the Paint Sprayer
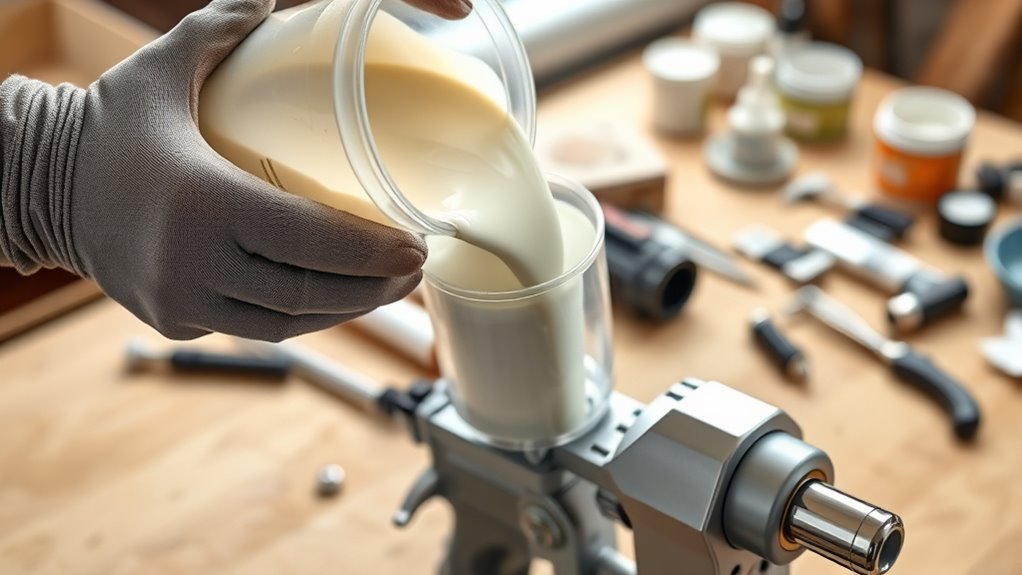
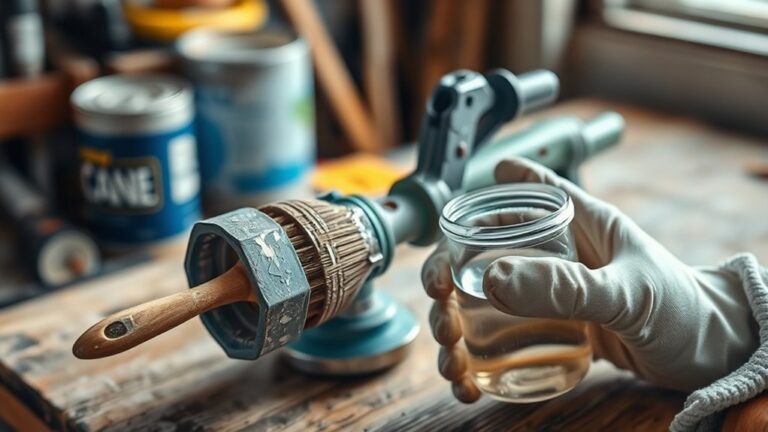
Once your primer is properly prepared and filtered, focus on setting up your paint sprayer correctly. Start by ensuring the sprayer is unplugged and clean. Follow the manufacturer’s instructions carefully during assembly, especially if you’re using airless paint sprayers, to guarantee all parts fit securely.
Next, fill the container with primer, diluting if the instructions specify. Attach the container firmly, checking that every seal is tight to prevent leaks.
Now, adjust the spray gun’s pressure and nozzle settings based on your primer’s viscosity and the surface you’ll be spraying. Before you begin, prime the system by running a small amount of primer onto a test surface. This step confirms the flow is smooth and even, helping you avoid issues during the actual application.
Applying Primer With the Sprayer
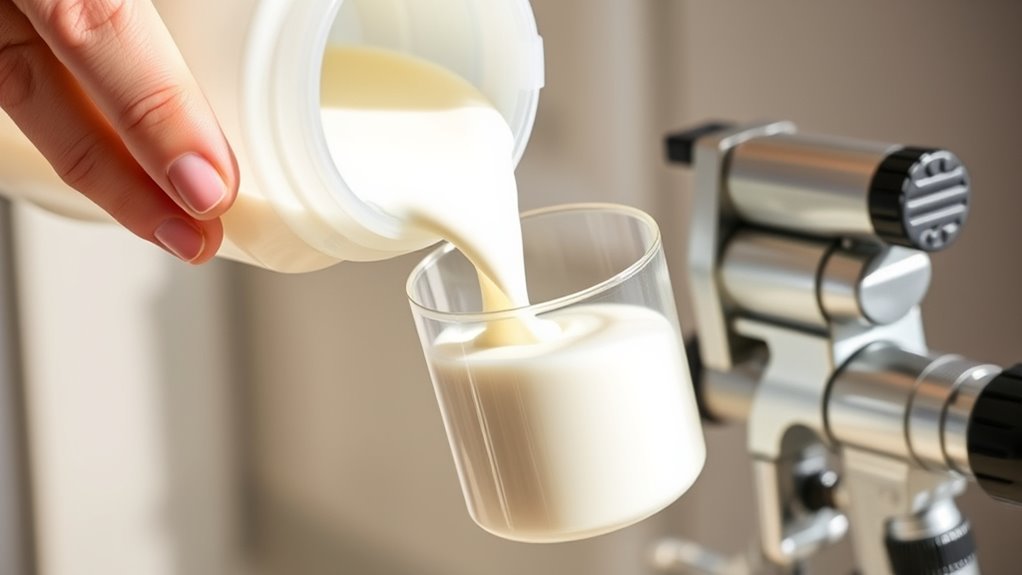
When you apply primer with a sprayer, make sure the primer is well mixed and thinned to the right consistency. Follow the manufacturers instructions to fill your airless sprayer’s reservoir carefully.
Attach the correct spray tip and adjust the pressure and air volume for ideal coverage. Start by priming the paint spray system on a test surface to check flow and spray pattern.
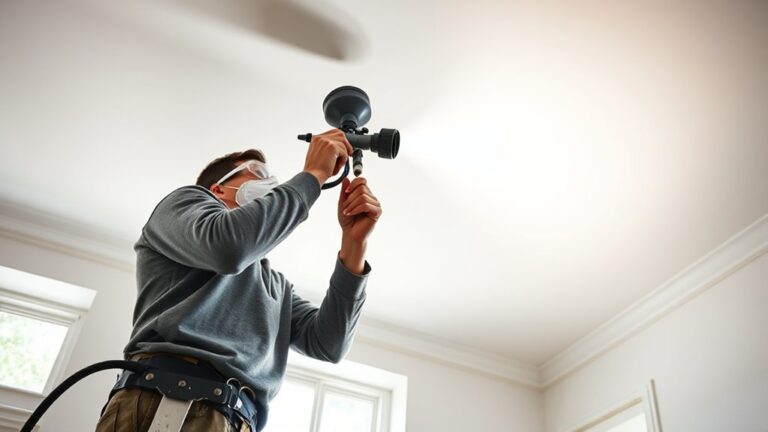
Then, apply primer with smooth, overlapping strokes, maintaining consistent speed and distance to save time and effort.
| Step | Key Tip |
|---|---|
| Mix & Thin Primer | Follow manufacturers instructions |
| Set Up Sprayer | Attach tip, adjust pressure and air volume |
| Test Spray | Prime system on test surface |
| Apply Primer | Overlap each stroke evenly |
Make sure to thoroughly clean individual components after use to maintain performance. It’ll keep your sprayer working great for the next job.
Frequently Asked Questions
How to Spray Primer With a Paint Sprayer?
You’ll pour diluted primer into the sprayer, adjust settings, then hold the gun 6-12 inches from the surface. Spray smoothly, overlapping passes.
It’s a good idea to test first. After you’re done, clean the equipment thoroughly to avoid clogs.
Does Primer Need to Be Thinned for Sprayer?
You might need to thin primer for your sprayer, depending on the type. Check the manufacturer’s instructions—water-based primers often require water, while oil-based ones may need mineral spirits.
Don’t over-thin to keep adhesion strong. It’s all about finding the right balance so your primer sprays smoothly without losing its effectiveness.
What Is the Ratio of Primer to Water for Sprayer?
If your primer were a cocktail, you’d mix it 1:1 to 1:3 with water—depending on its personality.
Don’t guess wildly; follow the label or you’ll end up with a sloppy paint party disaster.
How Do I Prime My Paint Sprayer?
You prime your paint sprayer by filling it with primer, then reassembling it tightly.
After that, spray into a waste area until the flow is steady.
This process flushes out air and gets the system ready for painting. Easy, right? Just takes a bit of patience!
Conclusion
Now that you’ve gently ushered the primer into your sprayer and prepared your workspace, you’re all set to give your project a flawless first coat. Think of this step as laying down a soft, welcoming blanket that quietly promises durability and beauty.
With each smooth spray, you’re not just applying primer—you’re quietly crafting the perfect foundation for your masterpiece to shine. Keep it steady, and watch your work come to life effortlessly.
Remember, proper primer application in a paint sprayer is key to achieving a smooth and long-lasting finish. Taking your time to load the primer correctly and maintaining a consistent spray pattern ensures your project looks professional. So, gear up and enjoy the satisfying process of putting primer in a paint sprayer—it’s the first step toward a beautiful, durable paint job every time.