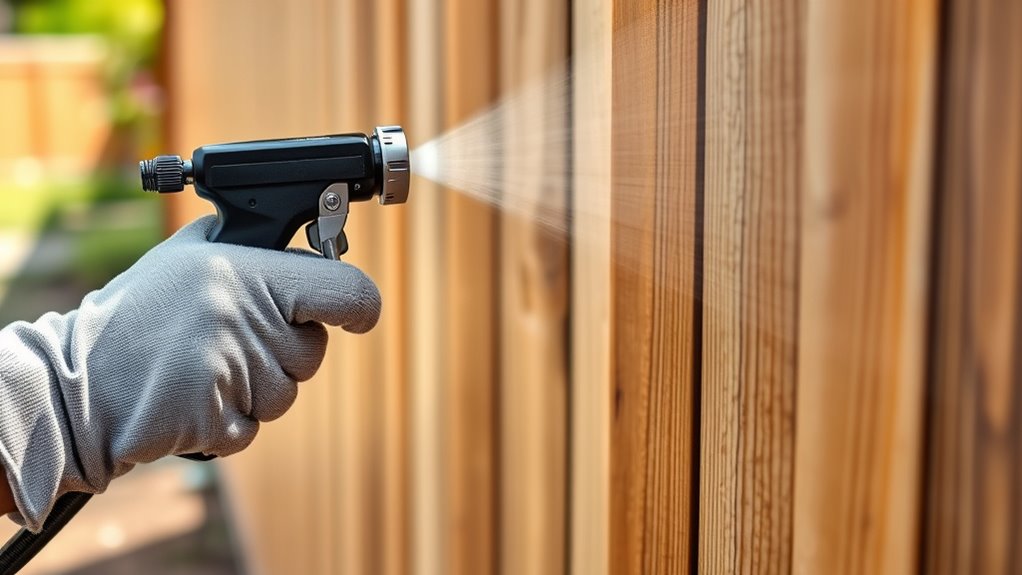
How You Use a Paint Sprayer With Stain: Step-By-Step Guide
To use a paint sprayer with stain effectively, start by clearing your workspace. Protect the surrounding areas with masking tape and plastic to avoid any unwanted splatters.
Next, mix and strain your stain to ensure it’s smooth and free of clumps. Adjust your sprayer’s tip size and pressure according to the type of stain and surface you’re working on. Holding the sprayer 8-12 inches from the surface is key for an even application.
Apply light, overlapping passes in steady strokes that follow the grain of the wood. This helps you avoid drips and blotches. Remember, don’t hover too long in one spot. Let each coat dry fully before applying the next.
Finally, keep your equipment clean throughout the process for the best results. Stick around for more tips to achieve a flawless finish with your paint sprayer and stain!
Key Takeaways
– Prepare the workspace by clearing debris, protecting surrounding areas, and gathering all necessary tools and stain materials.
Make sure everything you need is within reach before you start.
– Mask edges and adjacent surfaces precisely with tape and plastic sheeting to prevent overspray and ensure clean lines.
This step really helps keep your project looking neat and professional.
– Set up the spray gun with the correct tip size and pressure, and test spray on scrap material for consistency.
Testing first saves you from surprises later.
– Apply stain using steady, overlapping passes held 8-12 inches from the surface, following the wood grain without stopping or hovering.
Keeping a consistent motion is key here.
– Allow each coat to dry fully before applying more, and clean the equipment thoroughly after use to maintain performance.
Taking your time with drying and cleaning will make your finish last longer and keep your sprayer in good shape.
Preparing Your Workspace and Equipment
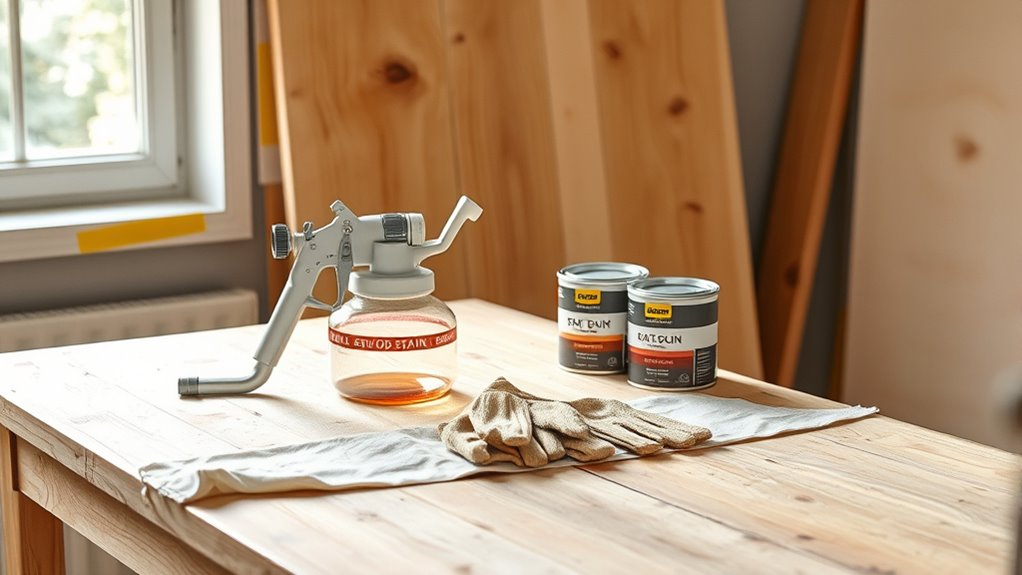
Before you start spraying stain, clear your workspace of debris and protect nearby plants, furniture, and surfaces with drop cloths or plastic sheeting to prevent overspray damage. Proper preparation is key to a smooth project.
Gather all your tools, including the spray gun, stain, masking tape, and cleaning supplies, before you begin setup. Mix the stain thoroughly in a clean container to ensure consistent color and texture, straining it if needed to remove lumps.
Adjust your spray gun by selecting the right tip size, like .013 or 1.6, and set the pressure following the manufacturer’s guidelines. Use masking tape and plastic sheeting to cover edges and adjacent areas, achieving clean lines and preventing unwanted stain on surfaces.
This careful masking and preparation set you up for success.
Applying Stain With a Paint Sprayer: Techniques and Tips
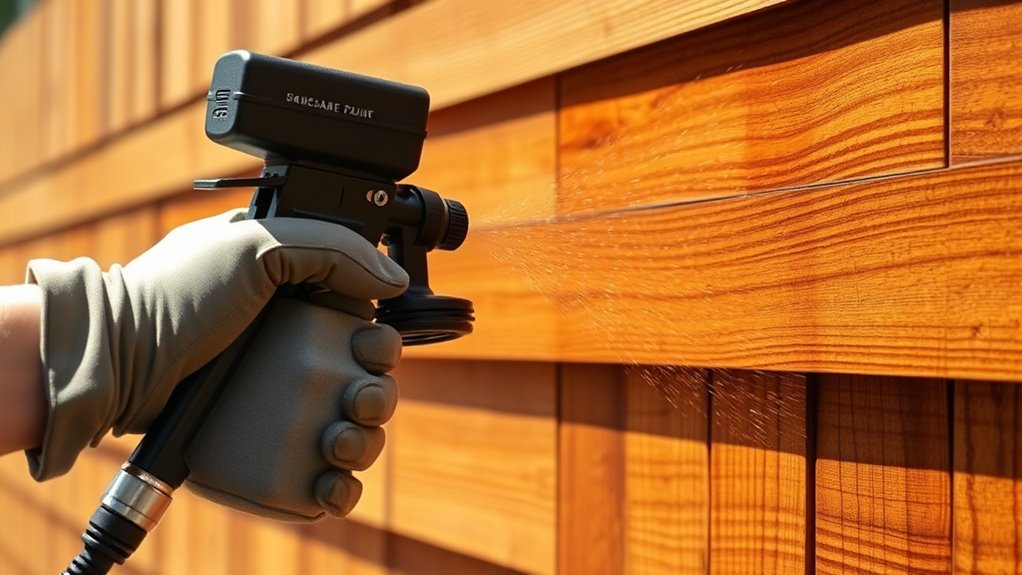
Once your workspace is prepared and your spray gun is properly adjusted, you can focus on applying the stain with confidence. Start by setting the pressure settings on your sprayer to ensure a smooth spray pattern.
Hold the sprayer 8-12 inches from the surface and use light, sweeping motions to apply the stain evenly. Make sure to overlap each pass by about 50% to avoid streaks and guarantee uniform coverage.
Move steadily along the wood grain, mimicking precise, robotic movements. Try not to stop or hover in one spot—that can cause drips and uneven color.
After applying the first coat, let it dry completely before adding more layers. If needed, use a brush to touch up any missed spots or edges to get a flawless finish.
Following these techniques will give you professional results every time. You’ve got this!
Frequently Asked Questions
How Do I Use a Paint Sprayer to Apply Stains?
You test the stain on scrap wood first, then hold the sprayer 8–12 inches away, spraying smoothly with overlapping passes. Move consistently along the wood grain.
Let each coat dry fully before applying the next one. And don’t forget to clean the sprayer afterward to keep it in good shape.
Does Stain Need to Be Thinned in a Sprayer?
Yes, you usually need to thin stain for spraying to guarantee smooth flow and avoid clogging.
Water-based stains use water; oil-based require mineral spirits. Test on scrap wood to get the right consistency before spraying your project.
Can You Use the Same Sprayer for Paint and Stain?
Wondering if you can use the same sprayer for paint and stain? Yes, you can!
But don’t forget to adjust the settings and clean it thoroughly between uses. This helps avoid clogging or color mixing.
It’s definitely worth the effort to keep your sprayer in good shape!
How Do You Use a Paint Sprayer for Beginners?
You start by cleaning the surface and testing your sprayer on scrap wood. Hold it 8-12 inches away, spray in smooth, overlapping strokes, and mask off nearby areas.
Practice first to get comfortable and avoid drips. It really helps to get a feel for the sprayer before you dive into your main project.
Conclusion
So, you’ve mastered using a paint sprayer with stain without turning your garage into a Jackson Pollock masterpiece—congratulations! It’s funny how something that seems so tricky at first can actually be pretty straightforward once you’ve got the right prep and technique.
Just remember, patience and practice pay off, and a little overspray won’t ruin your day—just your neighbor’s car. Now, go on and show that wood who’s boss!
Using a paint sprayer with stain might seem daunting, but with careful preparation and the right steps, anyone can achieve a smooth, professional finish. Keep practicing, take your time, and soon you’ll be staining wood surfaces like a pro. So grab your paint sprayer, pick your favorite stain, and transform your project with ease!