How to Paint Doors With a Sprayer in 7 Easy Steps
To paint doors with a sprayer, first gather your materials and prep the door by removing hardware and sanding smooth.
Setting up your sprayer with the right nozzle is key to getting a flawless finish. Test spray patterns on scrap wood to find what works best for you.
Practice on scrap wood to keep your strokes even and steady, holding the sprayer about 10-12 inches away. Apply thin, overlapping coats to make sure the paint goes on smoothly.
Let each coat dry fully before applying the next one.
When you’re done, clean your sprayer thoroughly to keep it in good shape for next time. Finally, let the door cure properly so the paint lasts long and looks great.
Keep reading to uncover more tips for perfect results and long-lasting paint.
Key Takeaways
- Remove door hardware and clean the surface thoroughly before painting.
- Thin the paint 10-15% and test the spray pattern on scrap material.
- Hold the sprayer 10-12 inches from the door. Use steady, overlapping strokes for even coats.
- Apply thin coats, let each dry fully, and sand lightly between coats if needed.
- Clean the sprayer immediately after use. Then, allow the paint to cure for 24-48 hours before rehanging.
Gather Your Materials
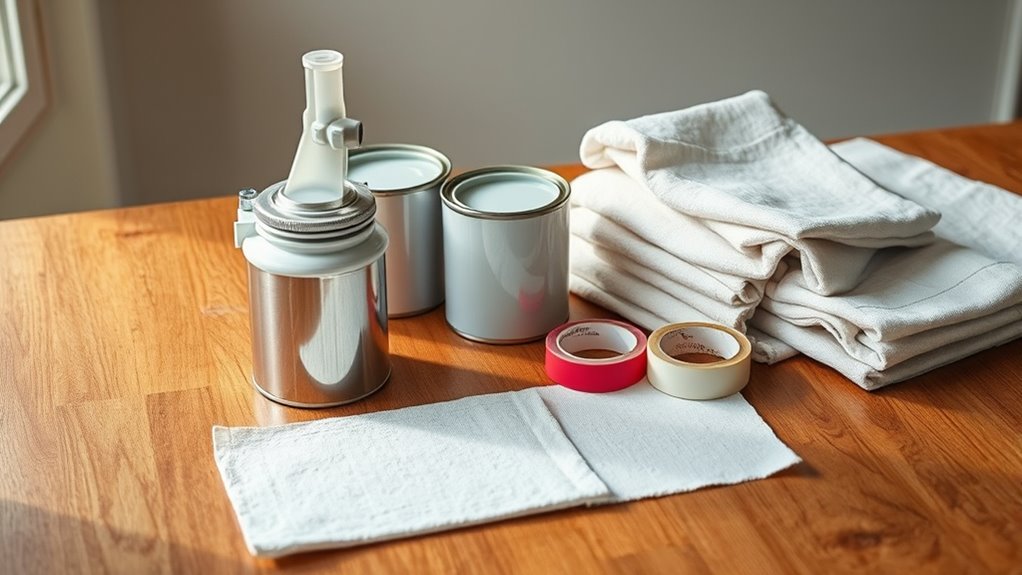
To start painting doors with a sprayer, gather five essential groups of materials: a high-quality sprayer like the Wagner FLEXiO 4300, all necessary painting supplies including primer and paint, safety gear such as gloves and a respirator, protective coverings like drop cloths and masking tape, and cleaning supplies for an easy cleanup.
You’ll need primer and paint suited for doors to guarantee a smooth finish. Safety gear is vital—gloves, goggles, and a respirator will protect you from fumes and overspray.
Use drop cloths to cover floors and furniture, and apply masking tape to shield edges and hardware. Having cleaning supplies ready helps you maintain your sprayer and tidy up spills quickly.
Gathering these materials upfront sets you up for a successful, efficient painting project. It really makes the whole process smoother and less stressful.
Prepare the Door Surface
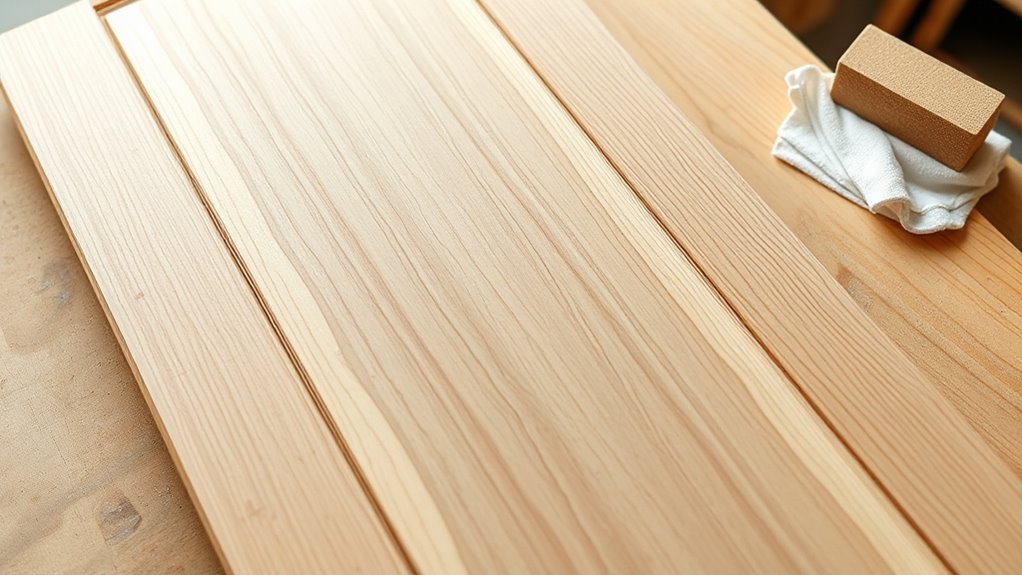
Before you start spraying, remove all hardware and clean the door thoroughly to make certain the paint sticks well. Sand the surface smooth and fill any imperfections for a flawless finish.
Don’t forget to protect hinges and surrounding areas with tape to avoid unwanted overspray. It’s a small step that makes a big difference!
Remove Hardware and Clean
Although it might seem tedious, removing all door hardware like doorknobs, hinges, and locks is essential for a smooth painting surface. Taking off the door hardware prevents paint from clumping or sticking unevenly.
Once removed, clean the door thoroughly with a damp rag to get rid of dirt, grease, and dust that can affect paint adhesion. Before painting, address any imperfections by patching cracks or holes with a suitable compound.
After the patching dries, lightly sand the door surface to improve primer and paint grip. Finally, wipe down the entire door with a tack cloth or damp rag to guarantee complete dust removal.
This step guarantees a clean door, setting the stage for flawless paint application with your sprayer. It might take a little extra effort, but trust me, your paint job will look way better!
Sand and Smooth Surface
Since a smooth surface guarantees your paint adheres evenly, you’ll want to lightly sand the entire door with 150 grit or finer sandpaper, focusing on rough spots and edges.
Start by removing any gloss or old finish to help the primer stick better. Repair any cracks or holes with filler, then sand those areas smooth once dry.
After sanding, wipe the door with a damp cloth to remove dust and debris. This step assures a flawless finish when you spray paint.
Remember to sand all edges and corners thoroughly. Also, be sure to remove all dust before priming.
And don’t forget to confirm the door surface is completely dry. These steps create the perfect base for applying primer and achieving a professional-looking finish.
Protect Surrounding Areas
How do you keep your workspace clean while painting a door with a sprayer? First, remove all hardware like doorknobs and hinges to guarantee smooth access.
Next, use drop cloths or plastic sheeting to cover the floor and any surrounding surfaces you want to protect from paint splatters. Apply high-quality masking tape carefully along edges, trim, and areas vulnerable to overspray.
This masking prevents paint from landing where it shouldn’t and helps maintain clean lines. Taking these steps to shield your workspace from overspray and drips saves you from tedious cleanup later and ensures a professional finish.
Set Up Your Paint Sprayer
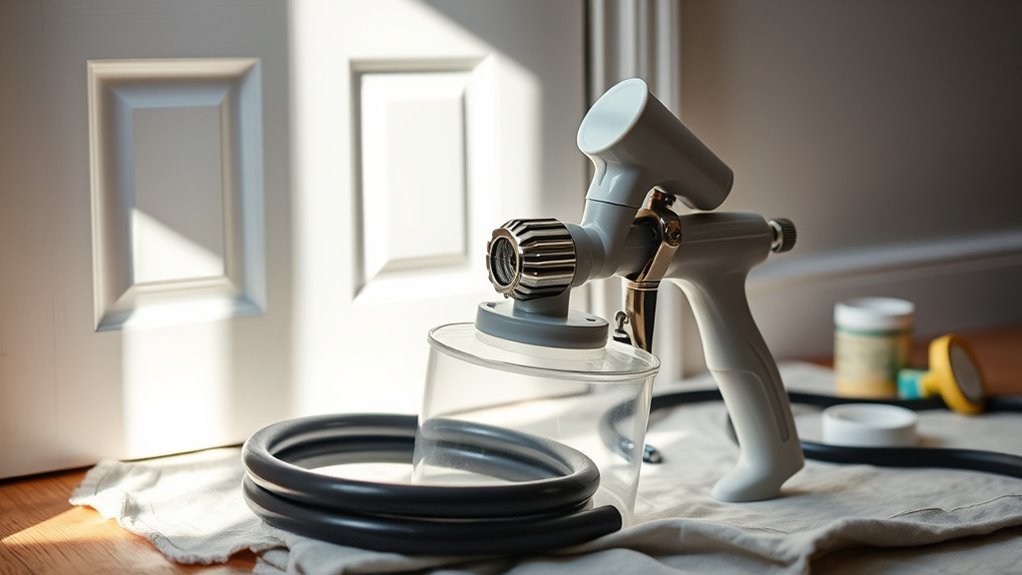
To get started, pick the right nozzle size for your paint and door surface to guarantee smooth application.
Next, adjust your sprayer’s settings like spray pattern and airflow to match your project needs.
Always test on a scrap piece first to fine-tune the setup before painting your doors.
Choose Proper Nozzle
When setting up your paint sprayer, choosing the proper nozzle is essential for achieving a smooth, even finish on your doors. Start by selecting the right spray tip size—like a 415 tip for fine finishes or larger for thicker paints.
Adjust the spray pattern and airflow settings according to your sprayer’s guidelines to ensure even coverage. Don’t forget to thin your paint by 10-15% to prevent clogging and promote smooth application.
Keep these key points in mind: match the nozzle size and spray cap to your paint type and project needs. It really makes a difference.
Also, test the spray pattern on cardboard to refine pressure and flow. And remember, using proper paint thinning helps with better atomization and less overspray.
Choosing the correct nozzle sets you up for professional results every time. So take your time picking the right one!
Adjust Sprayer Settings
Once you’ve selected the right nozzle, fine-tuning your sprayer settings guarantees a flawless finish. Start by choosing the correct spray tip size, like 415 or 515, based on your paint and door details.
Adjust the pressure setting between 1500-3000 PSI to match your paint type. Thin your paint 10-15% for smooth flow and to prevent clogging.
Set the spray pattern—horizontal or vertical—and test it on cardboard first. Finally, use the flow control knob to regulate paint volume for even coverage.
| Setting | Emotion Evoked |
|---|---|
| Spray Tip Size | Confidence |
| Pressure Setting | Control |
| Thinning Paint | Smoothness |
| Spray Pattern | Precision |
| Flow Control | Balance |
Practice Your Spray Pattern
Although it might be tempting to start spraying directly on the door, you should practice on cardboard or scrap material first to get a feel for the spray pattern and flow.
This practice lets you make important adjustments to airflow, material flow, and spray width. That way, you ensure even coverage and prevent overspray or runs.
Keep the sprayer 10-12 inches from your practice surface to mimic real conditions. Use overlapping strokes of about 50% to create a smooth finish.
Focus on these key points during practice: watch for uneven spray patterns or drips and tweak your technique accordingly.
Also, maintain consistent distance and speed to avoid blotches. Adjust sprayer settings until you achieve a uniform, even coverage.
Mastering your spray pattern now saves you time and frustration later. It’s definitely worth the effort!
Apply the First Coat
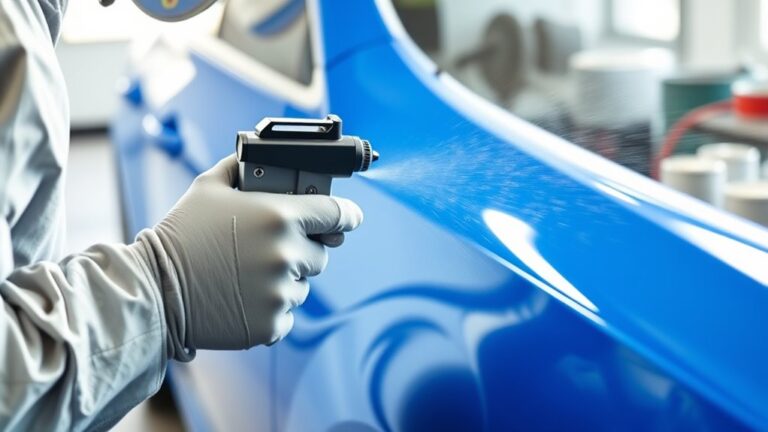
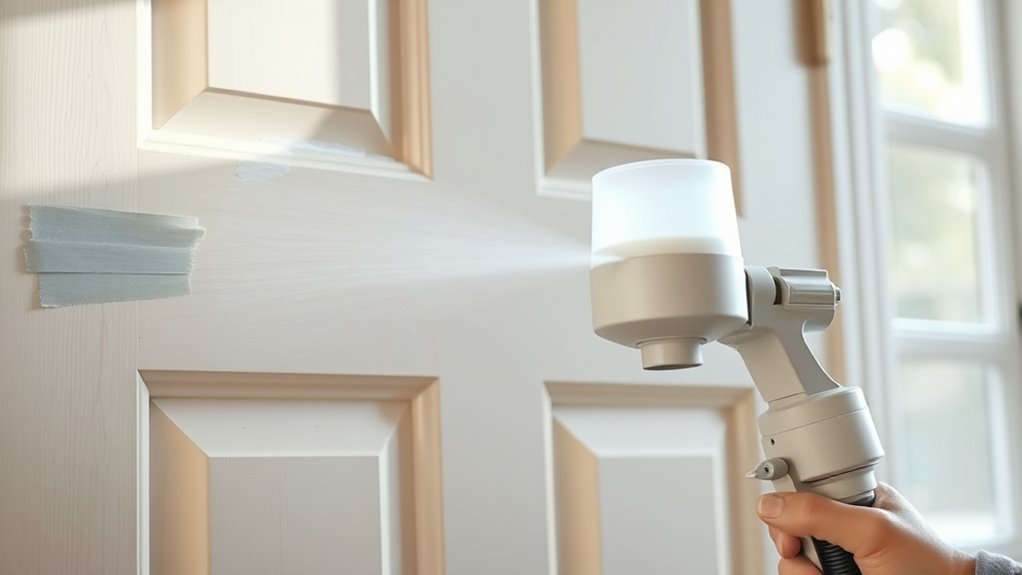
Since you’ve practiced your spray pattern, you can now hold the sprayer 10-12 inches from the door and apply smooth, even strokes for the first coat.
Start spraying just off the edge of the door to ensure a seamless start and avoid uneven lines. Use overlapping passes to cover all areas thoroughly without overloading the surface, which helps prevent drips.
Maintain a consistent speed and trigger pressure throughout each pass to achieve uniform coverage. If you’re applying a primer, the same technique guarantees a solid base for your paint.
Remember, this first coat sets the foundation, so focus on evenness rather than thickness. Allow the primer or paint to dry fully before deciding if additional coats are necessary.
This careful spray technique guarantees the best results.
Apply Additional Coats
After the first coat has dried completely—usually within 2 to 4 hours—you’re ready to apply additional coats to enhance coverage and finish. Make sure the dry time is fully observed to avoid smudging or uneven finish.
Lightly sand the surface if needed to improve adhesion and smooth out imperfections. When applying additional coats, maintain a consistent spray technique, overlapping each pass by about one-third to ensure uniform coverage.
Thinning the paint slightly (10-15%) can help achieve a smoother application and prevent drips. Just keep these tips in mind for the best results:
- Confirm complete dry time before next coat
- Sand lightly between coats for better adhesion
- Use steady, overlapping spray technique for uniform coverage
Clean Up and Enjoy Your Painted Door
Once you’ve finished painting, make sure to clean the sprayer’s nozzle and paint tub thoroughly with soapy water. This helps prevent clogs and keeps your equipment in good shape.
Clean your sprayer’s nozzle and paint tub with soapy water after painting to prevent clogs and maintain your tools.
After cleaning, carefully remove all painter’s tape, masking paper, and protective coverings. Doing this carefully will help you avoid smudging your fresh paint.
Let your door dry and cure completely—this usually takes about 24 to 48 hours—before you reinstall the hardware and rehang it.
Be mindful about how you dispose of or store any leftover paint. Seal containers tightly so you can use the paint for touch-ups down the road.
Taking these finishing steps ensures your work lasts and your tools stay ready for next time. Finally, enjoy the transformation!
You might even want to share your project photos or save the instructions for future reference. Protecting your investment really starts with thorough cleaning and thoughtful finishing.
Frequently Asked Questions
How to Spray Doors With a Paint Sprayer?
You’ll hold the sprayer 10-12 inches away, keeping your wrist steady. Spray with overlapping strokes, adjusting airflow for even coverage.
Start off the edge, move smoothly, and release the trigger at each pass’s end. This helps you get that nice, even finish without drips or spots.
How Many Doors Can I Spray With 1 Gallon of Paint?
Imagine one gallon as your paint passport— you can spray about 16 to 18 standard doors with two coats each.
Just remember, larger or textured doors might need more paint, so plan accordingly to avoid surprises.
What Is the Number One Rule When Using an Airless Spray Gun?
The number one rule when using an airless spray gun is to always wear proper personal protective equipment like masks, goggles, and gloves.
This keeps you safe from harmful fumes and paint particles during your project.
Trust me, it’s not just about comfort—it’s about protecting your health while you work.
Is It Better to Roll or Spray Doors?
You’ll find spraying doors better for a smooth, even finish and faster coverage, especially on detailed surfaces.
Rolling’s cheaper but takes longer and often needs more coats, so spraying usually gives you a more professional result.
If you’re looking for speed and a flawless look, spraying is the way to go. But if cost is your main concern, rolling can still get the job done.
Conclusion
Now that you’ve mastered painting doors with a sprayer, you’re ready to transform your space like a true Renaissance artist—minus the powdered wig! Just remember, patience and practice are your best allies.
Take your time with each coat, clean your tools thoroughly, and enjoy the smooth, professional finish you’ve created. Your door isn’t just painted; it’s a masterpiece that’ll impress anyone who steps through.
Painting doors with a sprayer can really elevate the look of your home. It’s faster and gives a flawless finish compared to brushes or rollers. So, keep honing those skills and don’t be afraid to tackle more projects.
Ready to show off your new skills? With these tips, painting doors with a sprayer will become your go-to method for a fresh, beautiful look every time.