Blog

  • How to Paint a Fence With a Sprayer in 3 Easy Steps

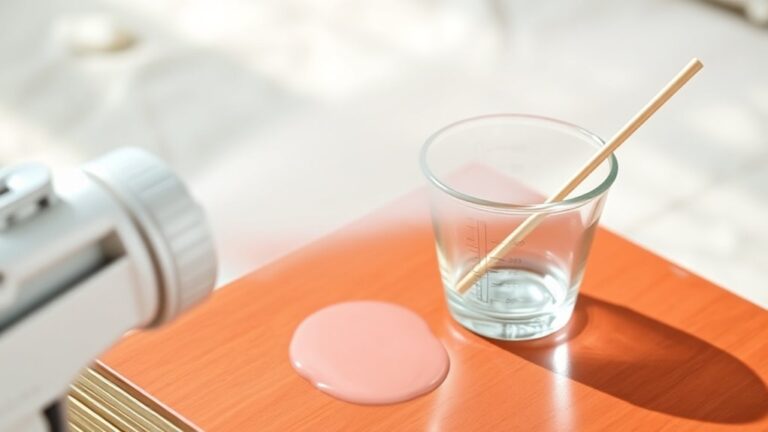
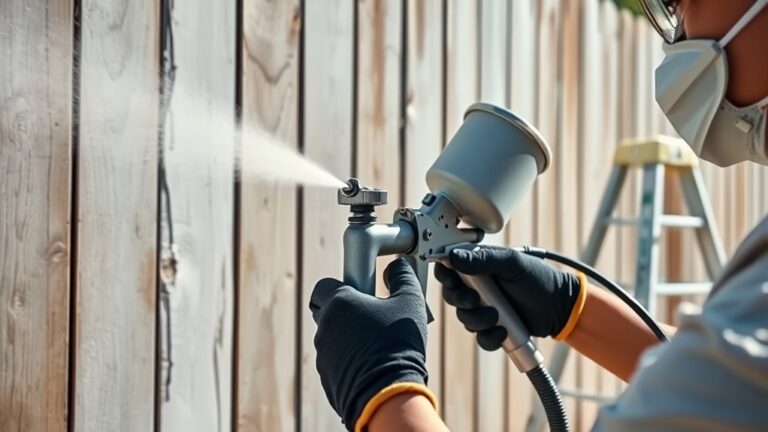
    To paint your fence with a sprayer, start by cleaning it thoroughly and letting it dry for at least 48 hours.

    Next, set up your sprayer with a wide tip. Adjust the flow and pressure, then test it on scrap wood to guarantee an even spray.

    Finally, apply thin, overlapping coats from 6-8 inches away. Let each layer dry completely before adding the next.

    Follow these steps, and you’ll get a smooth, professional finish—plus handy tips to perfect the process. Easy, right? Just take your time and enjoy the transformation!
  • How You Put Primer in a Paint Sprayer Step by Step

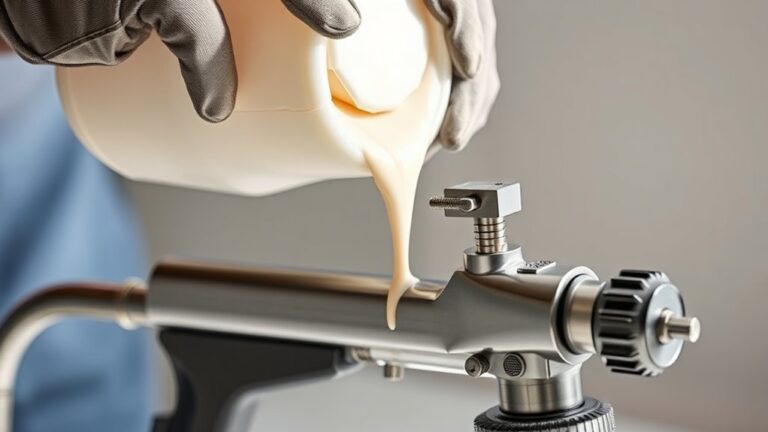
    To put primer in your paint sprayer, start by checking the manufacturer’s instructions and strain the primer through a fine mesh filter to avoid clogs.

    Pour it into the reservoir without overfilling, making sure it’s properly mixed or thinned if needed.

    Attach the container securely to the sprayer, adjust the nozzle and pressure for smooth application, then test spray for even flow.

    Keep going, and you’ll discover tips to perfect your primer application process.

  • How to Use a Paint Sprayer on Walls in 7 Easy Steps

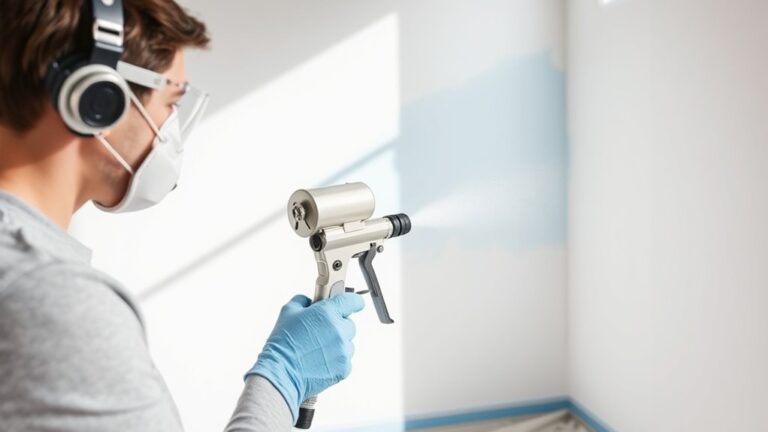
    To use a paint sprayer on walls, start by cleaning and repairing the surface. Then, protect floors and trim with masking materials.

    Choose and assemble your sprayer. Mix and thin paint as needed, and test the spray pattern on a scrap piece.

    Hold the sprayer about 12 inches away, applying paint with steady, overlapping strokes. Once done, clean and maintain your equipment properly.

    If you want to master each step for flawless results, keep exploring these tips.

  • How to Unclog a Paint Sprayer in 5 Easy Steps

    To unclog your paint sprayer, first turn it off and relieve the pressure to stay safe. Next, remove and closely inspect the spray tip for dried paint or debris.

    Use a fine needle or solvent to clear any stubborn blockages. Then, flush the system with the recommended cleaning fluid to clean internal parts.

    Finally, reassemble the sprayer and test the spray pattern to guarantee it’s running smoothly. Keep going to find out more helpful tips and details.

  • How to Clean Paint Sprayer Tips in 3 Easy Steps

    To clean your paint sprayer tips in 3 easy steps, first carefully remove and rinse the spray tip and guard under running water. This helps prevent paint from hardening and clogging your equipment.

    Next, grab a soft-bristled brush and gently scrub away any leftover paint. Make sure to focus on the orifice and the surrounding areas where paint tends to build up.

    Finally, flush the components thoroughly by running water through all passages. Once clean, dry them completely before putting everything back together.

    Follow these simple steps for a smooth spray every time. Trust me, keeping your equipment in top shape makes all the difference!

  • What Does HVLP Paint Sprayer Mean?

    An HVLP paint sprayer means High Volume, Low Pressure technology that delivers a large amount of air at low pressure to atomize paint into a fine mist. You’ll get smooth, precise coatings with minimal overspray and better control over your finish.

    It’s perfect for detailed work like furniture or cabinets, though it may work slower on large surfaces. Stick around to find out how this sprayer can make your painting project both efficient and eco-friendly.

  • How to Unclog a Paint Sprayer Step by Step

    If your paint sprayer clogs, start by soaking the nozzle and tips in acetone or a suitable solvent to dissolve dried paint. Use a fine needle or pin to gently clear any residue inside the nozzle.

    Then, flush the sprayer by running solvent through it while pressing the trigger to clear remaining blockages. Always clean the tips immediately after use to prevent buildup.

    Follow these steps to keep your sprayer flowing smoothly and avoid frequent clogs—you’ll find even more helpful tips ahead.

  • How to Paint Popcorn Ceiling With Sprayer in 3 Easy Steps

    Start by clearing the room and covering furniture, then clean your popcorn ceiling so paint sticks well.

    Next, set up your airless sprayer with the right tip and adjust the pressure to about 1500-2000 PSI for even coverage.

    Finally, spray the ceiling steadily from 12 inches away, overlapping each pass, and let it dry before removing tape.

    Keep going for tips on prep, cleanup, and perfecting your technique.

  • Do You Have to Thin Paint for a Paint Sprayer and How Do You Do It?

    You usually need to thin paint for a paint sprayer to guarantee smooth flow and avoid clogging, but it depends on your sprayer and paint type.

    For water-based paints, add about 10-20% water; for oil-based, use turpentine or white spirit in smaller amounts. Mix gradually and strain the paint to prevent nozzle blockages.

    Getting the right consistency helps you achieve even coverage without splatters. Keep going to discover more tips on preparing and testing your paint for the best results.