10 Steps to Paint Kitchen Cabinets With a Sprayer
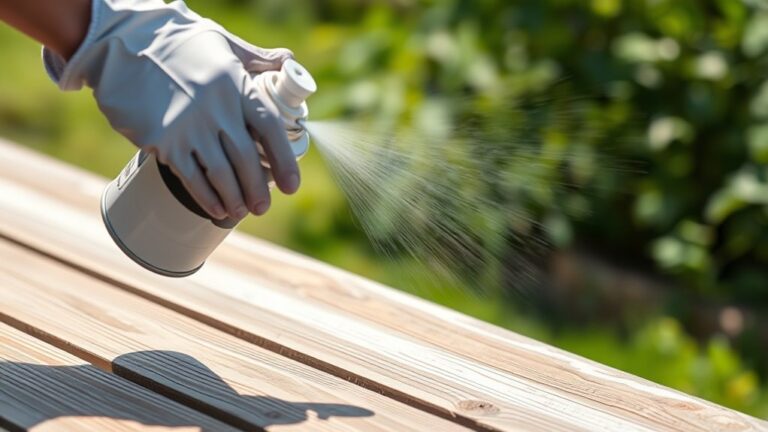
To paint your kitchen cabinets with a sprayer, start by choosing a sprayer with adjustable pressure and a fine finish nozzle. This will help you achieve a smooth, even coat that’s perfect for cabinets. Next, remove all the doors and hardware to make the painting process easier and more thorough.
After that, clean and sand all surfaces really well. This step is crucial because it helps the paint stick better and lasts longer. Don’t forget to mask surrounding areas with painter’s tape and drop cloths to protect your walls and countertops.
Now, apply 1-2 thin coats of primer, sanding lightly between coats to keep the surface smooth. Once your primer is ready, set up your sprayer and test the spray pattern on a piece of scrap wood to get comfortable.
When you start painting, apply multiple thin coats of paint instead of one thick coat. Allow each coat to dry completely, and sand lightly between coats to get that perfect finish.
Finally, sand any imperfections, reattach the hardware, and inspect your cabinets for any touch-ups. Keep practicing each step to master the art of painting kitchen cabinets with a sprayer!
Key Takeaways
- Remove cabinet doors, drawers, and hardware. Then clean and sand surfaces to help the paint stick better.
- Mask surrounding areas carefully. This protects against overspray and ensures you get clean edges.
- Apply 1-2 thin, even primer coats with a sprayer. Let each coat dry for 4-6 hours, then sand lightly before the next coat.
- Set up and test the paint sprayer on scrap material first. Keep about 12 inches distance and overlap each pass by 50%.
- Spray 2-3 thin paint coats, sanding lightly between each one. Finally, allow 24-48 hours for the paint to fully cure before putting everything back together.
Selecting the Right Paint Sprayer for Cabinets

When selecting a paint sprayer for your kitchen cabinets, you’ll want one that offers adjustable pressure settings and a fine finish nozzle to achieve a smooth, professional look.
A sprayer with adjustable pressure settings gives you control over paint flow and droplet size, which is key for accuracy and a flawless finish. Opt for a nozzle designed for fine detail, like a detail finish nozzle, to produce smaller, mist-like droplets that evenly cover cabinet surfaces without brush strokes.
Adjustable pressure and a fine detail nozzle ensure precise paint flow and a smooth, brushstroke-free finish on cabinets.
Some sprayers feature directional pickup straws, helping you reach tricky angles and heights with ease. Before starting, practice on scrap material to fine-tune your sprayer’s pressure and nozzle settings.
This way, you’ll ensure even coverage with minimal drips or overspray for the best cabinet refinishing results.
Gathering Materials and Tools Needed
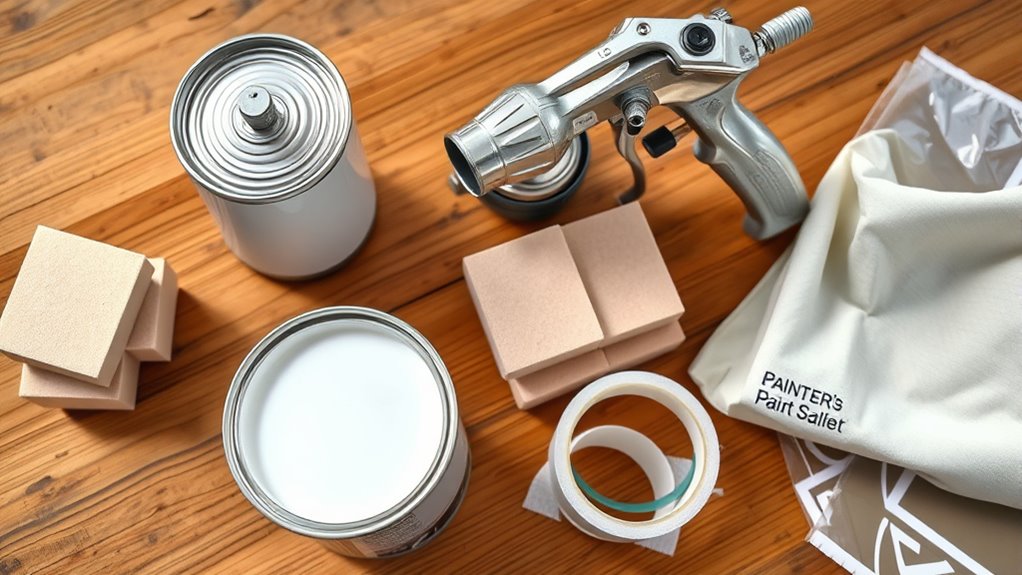
Before you start painting, gather all the necessary materials and tools to make certain a smooth process. You’ll need high-quality primer, painter’s tape, masking tape, and drop cloths to protect your floors and countertops.
Prepare your surfaces with 220 grit sandpaper to smooth imperfections, then wipe them clean using a tack cloth to remove dust. A reliable sprayer, such as the Wagner FLEXiO 5000, ensures an even coat.
Don’t forget plastic sheeting to cover nearby areas and a respirator for safety. Set up your workspace carefully by taping off edges and covering surfaces to prevent overspray.
Finally, test your sprayer on scrap material to adjust the spray pattern and paint flow before tackling your cabinets. This way, you’ll avoid any surprises once you start painting.
Removing and Preparing Cabinet Doors and Drawers

Start by carefully removing your cabinet doors and drawers, labeling each one to keep track of where they belong. Take off all hardware and clean every surface thoroughly to get rid of grease and dirt.
Then, lightly sand the doors and drawers to make sure the paint sticks properly. This step really helps the new finish last longer and look smooth.
Door and Drawer Removal
To guarantee a smooth and thorough paint job, you’ll need to remove all cabinet doors and drawers carefully. Start by removing hardware like hinges and handles to create a clean surface for painting.
Label doors and drawers with masking tape and a marker to ensure proper reassembly. Clean surfaces thoroughly to remove grease and dirt before painting.
Organize components safely to prevent damage and protect surrounding areas from overspray. This prep work sets the foundation for a flawless finish.
| Step | Action | Tip |
|---|---|---|
| Remove hardware | Unscrew hinges, handles | Keep screws in labeled bags |
| Label doors | Mark with tape and marker | Match labels to cabinet spots |
| Clean surfaces | Use degreaser or liquid soap | Let dry completely |
| Organize components | Store flat or hang safely | Avoid warping or damage |
Surface Cleaning and Sanding
With the cabinet doors and drawers removed and labeled, you can focus on cleaning and sanding each piece thoroughly. Start by cleaning all surfaces with a TSP solution or degreaser to eliminate grease, dirt, and residues. This preparation guarantees the primer adheres properly later.
Next, lightly sand every surface, including doors and frames, using 220 grit sandpaper to promote paint adhesion. After sanding, wipe down the surfaces with a tack cloth or damp rag to remove dust and debris. This helps prevent imperfections in your finish.
If you spot any holes, scratches, or cracks, fill them with wood filler. Let it dry completely, then sand smooth. Proper cleaning, sanding, and dust removal set the foundation for a flawless cabinet paint job with your sprayer.
Cleaning and Degreasing Cabinet Surfaces
Although it might seem tedious, thoroughly cleaning and degreasing your cabinet surfaces is essential for a smooth paint job. Start by using a degreaser or a liquid cleaner like Liquid Sandpaper to remove grease, dirt, and residue.
Pay close attention to edges, grooves, and corners where buildup tends to accumulate. After cleaning, wipe everything down with a damp cloth to ensure dust removal and eliminate any leftover particles.
Let the surfaces dry completely before moving on to sanding or applying primer, as trapped moisture can cause paint issues. This careful surface preparation sets the foundation for proper adhesion.
Avoid harsh abrasives; use fine sanding only after the cleaning step to gently prepare the cabinets without damaging the wood. It’s all about being gentle but thorough here.
Sanding Cabinets for Optimal Paint Adhesion
You’ll want to use 220 grit sandpaper to lightly sand your cabinets, creating a smooth surface that helps paint stick better.
After sanding, clean off all dust with a tack cloth or damp rag to guarantee the surface is spotless. This prep step makes a big difference in achieving a flawless finish with your sprayer.
Sandpaper Grit Selection
When preparing your kitchen cabinets for painting, choosing the right sandpaper grit is crucial to guarantee the best paint adhesion. Proper grit selection ensures the surface is smooth and primed for a flawless finish.
Here’s how to select and use sandpaper grit for effective sanding prep:
- Use 220-grit sandpaper for light sanding; it creates a smooth, even surface that helps paint stick well.
- For glossy or heavily textured cabinets, start with 120- or 150-grit to roughen the surface, then finish with 220-grit for an even prep.
- Always sand with the wood grain to avoid scratches and maintain a professional finish.
Avoid oversanding, which can damage the surface and cause uneven paint coverage. So, take it easy and sand just enough to prep the surface well.
Surface Cleaning Techniques
After sanding your cabinets with the right grit to prepare the surface, the next step is to clean them thoroughly to confirm the paint sticks properly. Effective surface cleaning is essential prep work that removes all dust and debris left from sanding.
Use a tack cloth or a damp rag to wipe down every surface, ensuring it’s dust-free before moving on. For stubborn residues, clean with a diluted TSP solution or liquid deglosser to eliminate grease and sawdust that could interfere with adhesion.
Focus on sanding along the wood grain, and after filling any holes or cracks, sand smooth again before cleaning. This thorough dust removal and surface cleaning guarantees clean surfaces, setting you up for a flawless paint application with your sprayer.
Masking Surrounding Areas to Prevent Overspray
Although spraying paint can speed up your kitchen cabinet makeover, you need to carefully mask surrounding areas to prevent overspray from settling where it shouldn’t. Proper masking ensures clean lines and protects your countertops, walls, and floors.
Use painter’s tape and plastic sheeting as your primary masking materials. Here’s how to do it efficiently:
- Apply painter’s tape along cabinet edges and trim, pressing firmly to create sharp boundaries.
- Cover countertops, backsplashes, and floors with plastic sheeting or drop cloths, securing them with masking tape to prevent paint from drifting.
- Shield nearby furniture and larger areas using painter’s plastic or protective coverings to stop overspray from reaching unintended surfaces.
Be sure to remove all masking materials carefully after painting. This helps you avoid smudging your fresh finish.
Applying Primer to Cabinets and Drying Times
Start by spraying 1-2 even coats of primer to cover all cabinet surfaces thoroughly. Let each coat dry for 4-6 hours before sanding lightly with 220 grit sandpaper to smooth the finish.
Remember to wait 24 hours after the final coat before handling or reassembling to guarantee proper curing. This way, you make sure everything sets just right!
Primer Application Techniques
When you apply primer to your kitchen cabinets, use a sprayer with a fine finish nozzle and hold it about 12 inches from the surface to achieve a thin, even coat. This guarantees the spray pattern covers smoothly without runs.
Follow these steps for best results:
- Apply a thin, even coat using your paint sprayer, maintaining consistent distance for proper adhesion.
- Let the primer dry for 4 to 6 hours, then lightly sand with 220 grit sandpaper to create a smooth base.
- If needed, apply a second coat after sanding to ensure full coverage.
Allow at least 24 hours for complete curing before painting.
Always check the primer’s instructions for specific drying and curing times to optimize your finish.
Optimal Drying Durations
If you want your primer to adhere properly and provide a durable base, you need to let it dry fully before applying additional coats or paint. Typically, allow at least 4-6 hours for primer coats to dry completely.
However, curing time is vital—you should wait up to 24 hours before applying paint to ensure the primer is fully cured and prevent peeling. Keep in mind that drying times can vary depending on humidity and temperature, so maintain proper ventilation to speed up the process.
Always follow the primer manufacturer’s recommended drying times to achieve the best adhesion and durability. By respecting these ideal drying durations, you’ll create a strong foundation that helps your paint dry smoothly and last longer.
Sanding Between Coats
Although it’s tempting to rush, you should always let your primer dry completely—usually 4 to 6 hours—before sanding between coats. Proper drying guarantees the primer adheres well and prevents smudging during sanding.
Use 220 grit sandpaper to lightly sand the surface; this smooths out brush marks and imperfections, giving your finish a professional look. After sanding, remove all dust with a tack cloth or damp rag to avoid flaws in the next coat.
Follow these steps for effective sanding between primer coats:
- Sand gently with 220 grit to smooth the primer without damaging it.
- Remove all dust and debris thoroughly to ensure clean adhesion.
- Apply thin, even coats of primer, allowing full drying time between each.
This process guarantees a flawless, durable finish on your cabinets. You’ll be glad you took the time!
Setting Up the Paint Sprayer and Testing Spray Pattern
Before you start painting, assemble your sprayer carefully following the manufacturer’s instructions to guarantee all parts fit securely.
Next, use test pieces like scrap wood or cardboard to evaluate your spray pattern. Adjust the nozzle to achieve an even, mist-like spray that ensures smooth coverage.
Set the air pressure to maximum to create smaller droplets, which help produce a finer finish. Fine-tune paint flow using the trigger stopper on the spray gun to avoid drips or uneven coverage.
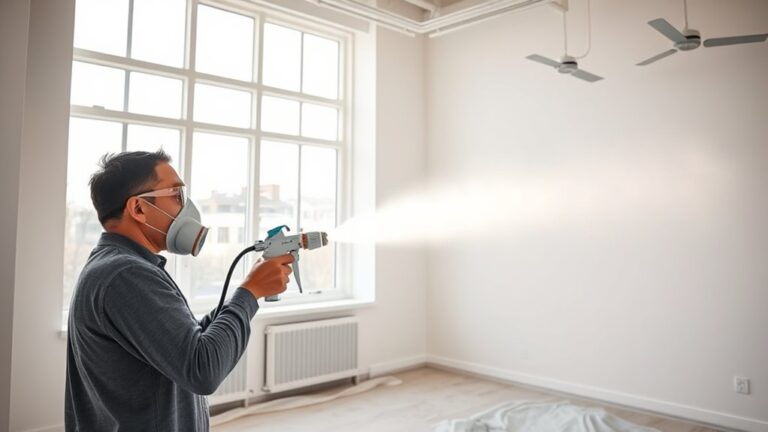
Practice spraying at various spray velocities on test pieces, holding the spray gun about 12 inches from the surface. Overlap each pass by roughly 50% to maintain consistent coverage.
This setup ensures your sprayer is optimized for painting your kitchen cabinets flawlessly. You’ll get a smooth, professional finish every time!
Applying Multiple Thin Coats of Paint With a Sprayer
When you apply multiple thin coats of paint with a sprayer, you guarantee even coverage and reduce the risk of drips that come from thicker layers. Use your spray gun with high air pressure to create fine droplets, boosting finish quality.
Adjust the paint flow by twisting the trigger stopper for consistent, light coats that improve adhesion.
Follow these steps for best results:
- Spray thin coats evenly, avoiding buildup.
- Allow adequate drying time—usually 4-6 hours—between each coat.
- Perform light sanding between coats to smooth the surface and enhance the next layer’s bond.
This method assures each layer cures properly, preventing peeling or chipping while delivering a durable, smooth finish on your kitchen cabinets.
Final Sanding, Touch-Ups, and Reassembling Cabinets
After your paint has fully dried, lightly sand all surfaces with 220-grit sandpaper to smooth imperfections and help the next steps adhere better. This final sanding guarantees a flawless paint finish and preps the cabinets for touch-ups.
Carefully inspect for any uneven spots or thin coverage. Use a small brush or sprayer for touch-ups, blending seamlessly.
Once satisfied, remove all masking tape and plastic sheeting gently to avoid damaging the fresh paint finish. Allow the paint to cure fully—typically 24 to 48 hours—before reassembling cabinets.
Gently remove masking materials and let paint cure 24-48 hours before reassembling cabinets for best results.
Reattach hardware, hinges, and any removed components during hardware reattachment. Conduct a last inspection to catch missed spots or drips, sanding lightly and touching up as needed.
This careful process guarantees a professional, durable result.
Frequently Asked Questions
How to Spray Kitchen Cabinets for Beginners?
You’ll want to practice spraying first. Hold the sprayer about 12 inches away from the surface.
Make sure to overlap each pass by half to get an even coat. Use a fine nozzle with max pressure for the best results.
Apply thin coats rather than thick ones. And don’t forget to mask surrounding areas to avoid overspray.
What I Wish I Knew Before Painting Cabinets?
You wish you knew how essential thorough sanding and taping were. It really makes a huge difference in the final look.
Also, multiple thin coats beat one thick one every time. It helps the paint dry better and prevents drips.
And don’t forget about sprayer maintenance! Keeping it clean avoids clogs and gives you that smooth, professional-looking finish every time.
Is It Better to Brush or Roll Paint on Cabinets?
You know what they say: “Measure twice, cut once.” It’s better to brush for small touch-ups, but rolling is great for larger flat surfaces.
Each method suits different needs, so choose what fits your project best.
Can I Use a Sprayer to Paint Kitchen Cabinets?
Yes, you can definitely use a sprayer to paint kitchen cabinets. It speeds up the process and gives a smooth finish.
But, you’ll need to prep surfaces well and apply thin, even coats. This helps avoid drips and overspray.
Conclusion
By following these steps, you’ll transform your kitchen cabinets smoothly, just like a gentle breeze evenly spreading fresh paint across a canvas. As you spray each thin coat, imagine the old, worn surfaces fading away, replaced by a sleek, renewed finish.
The trick is in patience and preparation—just like setting up your sprayer perfectly before the first mist. Taking your time ensures that every corner and crevice gets covered beautifully, avoiding drips or uneven spots.
In the end, your kitchen won’t just look new; it’ll feel like a fresh start painted with care. Using a sprayer makes the process faster and delivers a professional-looking finish that brushes simply can’t match. So, grab your sprayer, prepare well, and enjoy the satisfaction of beautifully painted kitchen cabinets that brighten your whole space.