How to Paint a Ceiling With a Sprayer in 5 Easy Steps
To paint your ceiling with a sprayer, start by clearing away dust and patching any holes to create a smooth surface. This prep work is key to getting a professional-looking finish.
Then, protect your furniture and floors with drop cloths or plastic sheeting to keep everything clean.
Next, set up your sprayer. Prime it well and test the spray pattern on a scrap piece first. You want an even, 12-inch-wide fan spray at about 12 inches distance for best results.
Adjust the pressure between 1500-2000 PSI to get consistent coverage without drips.
When you start spraying, keep your movements steady and overlap each pass slightly. This helps avoid missed spots or streaks.
After the paint dries, check your work and touch up any areas you missed.
Keep following these steps, and you’ll be well on your way to a flawless ceiling finish.
Key Takeaways
- Prepare the ceiling by cleaning it thoroughly and repairing any holes. Don’t forget to protect your floors and furniture using drop cloths.
- Next, set up your airless sprayer and prime it. Before you start, test the spray pattern on a scrap surface to make sure it’s just right.
- Adjust the sprayer pressure to between 1500 and 2000 PSI. This helps you get a consistent, even spray pattern about 12 inches wide.
- When spraying, hold the gun about 12 inches away from the ceiling. Use steady, overlapping passes and keep the spray gun angle perpendicular for the best coverage.
- After the paint dries, check for any missed spots. Touch them up, then lightly sand the area to achieve a smooth, seamless finish.
Preparing the Ceiling and Work Area
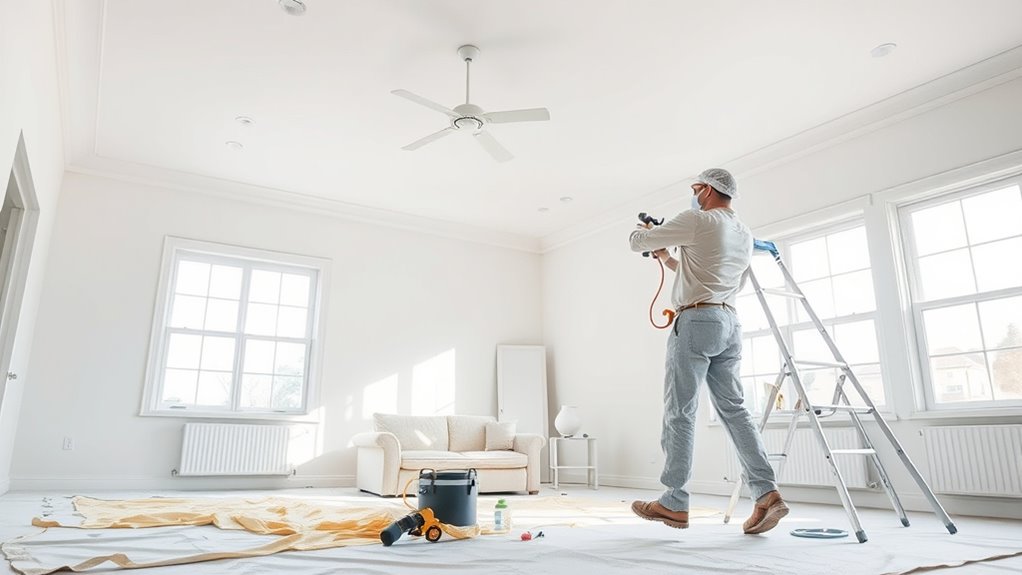
Before you start painting, clear your ceiling of cobwebs, dust, and loose debris to help the paint adhere properly. Next, repair any holes or cracks using spackle or joint compound, then sand these areas smooth for a flawless finish.
To prepare your work area, cover floors, furniture, and nearby walls with drop cloths or plastic sheeting to protect against overspray. Remove or mask light fixtures, vents, and ceiling-mounted items to prevent paint splatter.
Finally, guarantee proper ventilation by opening windows and doors, which helps keep the air fresh and makes the painting process safer. Taking these steps to prepare your ceiling and workspace sets the foundation for a smooth, professional-looking paint job with your sprayer.
Setting Up and Testing the Sprayer

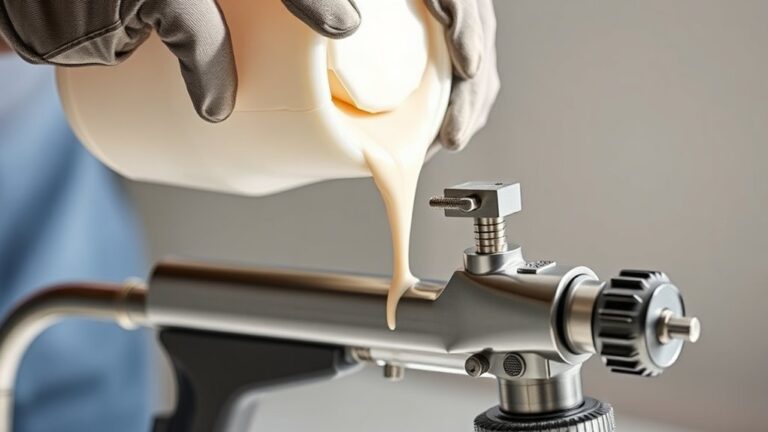
With your ceiling and workspace properly prepped, turn your attention to setting up the sprayer for a smooth application. First, make certain your airless sprayer is fully charged, pressurized, and loaded with the correct paint.
Begin priming by lifting the priming switch to fill the machine with paint, then switch to line filling to get ready for spraying. Next, test the spray pattern on a scrap surface, aiming for an even 12-inch wide spray at 12 inches away.
Start priming by filling the sprayer, then test a 12-inch wide spray at 12 inches away.
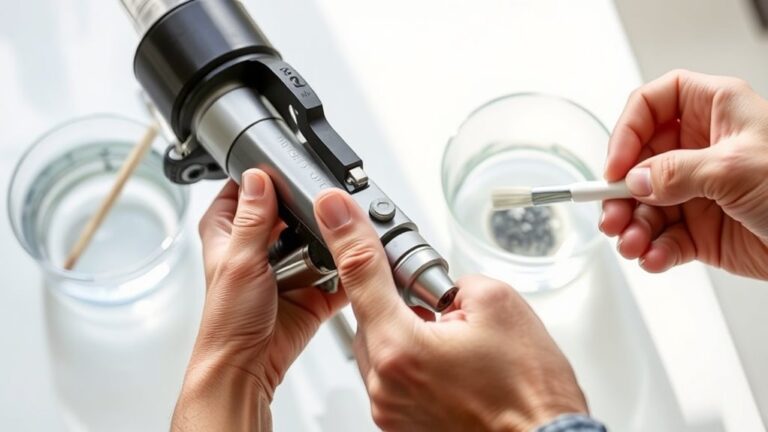
Adjust the pressure dial if needed to maintain consistency. Clear the spray line by spraying into a bucket to avoid mixing old and new paint.
Confirm the spray pattern stays consistent and the pressure is steady to prevent streaks or gaps before you start painting your ceiling. That way, you’ll ensure a smooth, flawless finish every time.
Adjusting Spray Pressure and Pattern
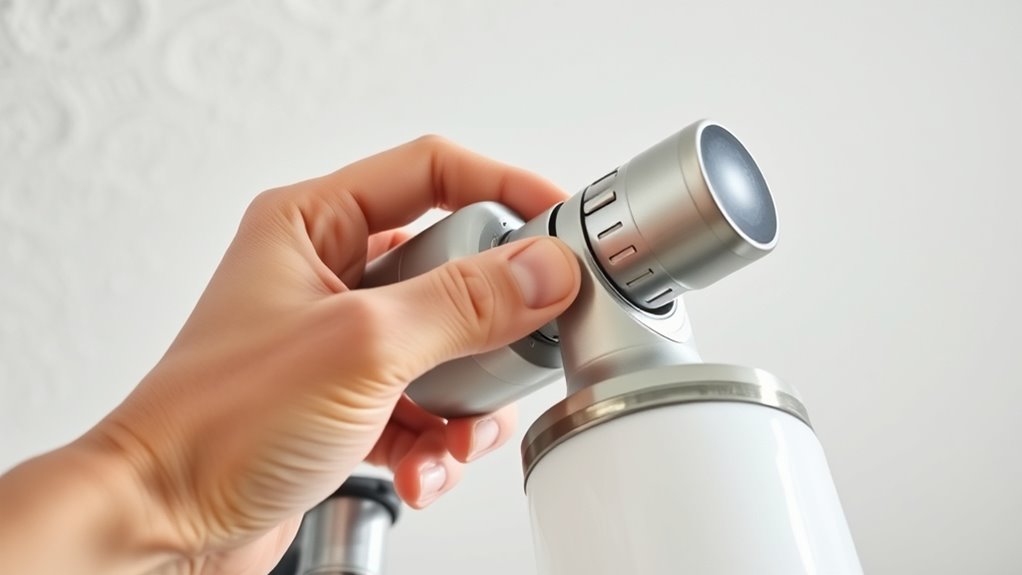
When you adjust the sprayer’s pressure dial, aim for a steady PSI between 1500 and 2000 to get a consistent, even spray pattern. Proper adjusting pressure guarantees smooth coverage without drips or gaps.
Test your spray pattern on drywall or cardboard before you start painting. Watch for a uniform 12-inch wide spray at a 12-inch distance. If you see uneven coverage, increase the PSI slightly.
Lower it if you notice overspray or paint drips. Keep a steady hand and consistent distance throughout.
- Set PSI between 1500-2000 for ceilings
- Test spray pattern on scrap material
- Adjust pressure to fix gaps or drips
- Maintain 12-inch distance from ceiling
- Monitor spray pattern regularly and tweak PSI as needed
Applying Paint With Proper Technique
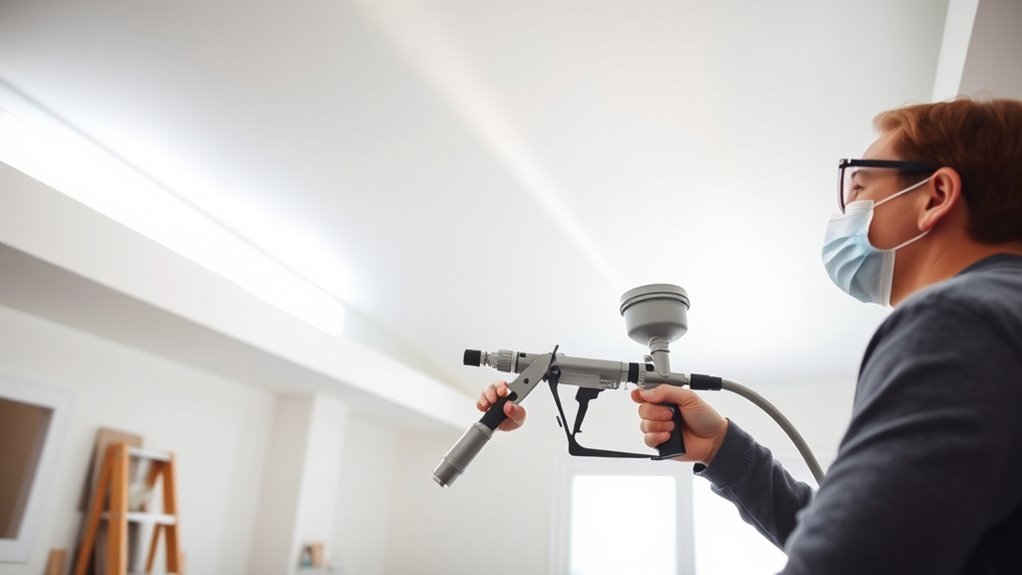
Although adjusting your sprayer correctly is essential, applying paint with proper technique guarantees a smooth, even finish on your ceiling. To start, keep spraying at a consistent distance of about 12 inches from the surface, holding the spray gun perpendicular.
This steady approach prevents drips and uneven textures. When I’m going to use the sprayer, I move it slowly and steadily, overlapping each pass slightly to avoid streaks and ensure full coverage.
Keep the spray pattern uniform by maintaining the right PSI and testing it on drywall before painting. Remember, I’m going to use controlled, fluid motions throughout the project, so your ceiling looks professional and flawless.
Keep spraying steadily, and you’ll achieve a perfect finish every time.
Inspecting and Touching Up the Painted Ceiling
After you finish spraying the ceiling, take time to inspect it carefully for any missed spots, drips, or uneven coverage. This inspection is vital to ensure a smooth, uniform finish.
When you find areas needing attention, wait for the first coat to dry completely before doing touch-ups. Use a small brush, roller, or sprayer to apply paint precisely.
Lightly sand any touched-up spots to blend them seamlessly with the surrounding paint, avoiding noticeable patches.
- Check for missed spots or thin coverage
- Identify drips or runs needing smoothing
- Allow paint to dry fully before touch-up
- Use light sanding for perfect blending
- Re-spray or touch up maintaining consistent pressure
Following these steps guarantees a flawless ceiling finish.
Frequently Asked Questions
How to Spray Paint a Ceiling With a Spray Gun?
You connect the spray gun, adjust the pressure, and hold it 12 inches from the ceiling. Spray in slow, steady strokes, overlapping each pass by 50% for even coverage.
Test first to avoid streaks and drips. This way, you’ll get a smooth finish without any surprises.
How to Paint a Ceiling Fast and Easy for Beginners?
You’ll want to use a sprayer set about 12 inches away, work in small sections, and overlap each pass slightly.
Choose ceiling-specific paint that changes color as it dries, and keep your spray pattern steady for quick, even coverage.
This way, you’ll get a nice, smooth finish without too much hassle. Just take it one step at a time!
Is It Better to Roll or Spray a Ceiling?
You might think rolling’s better for control, but spraying actually saves you time and effort, especially on large ceilings.
You’ll get a smoother finish faster, though spot-rolling can help with tricky corners or textured spots.
What Is the Trick to Painting Ceilings?
The trick to painting ceilings is keeping your sprayer about 12 inches away, moving it slowly and steadily, overlapping each pass.
You’ll avoid drips, streaks, and uneven texture, ensuring a smooth, professional finish every time. Just take it easy and keep a steady hand.
Conclusion
Painting your ceiling with a sprayer is like planting a garden—you prepare the soil, choose the right tools, and nurture each stroke with care.
As you finish, your ceiling blooms with invigorating color, reflecting your effort and patience. Remember, every swipe is a seed of creativity, turning a blank canvas into a vibrant sky above you.
Embrace the process, and soon your room will feel like a gust of fresh air, renewed and alive. Using a sprayer makes painting your ceiling quicker and more even, giving your space a professional finish. With the right technique, your ceiling will transform beautifully, making your entire room feel fresh and inviting. So grab your sprayer and get ready to refresh your home with a smooth, vibrant ceiling!