How You Spray Paint Wicker Furniture Step by Step
Start by cleaning your wicker furniture completely. Make sure to remove any dust or dirt. Then sand any rough spots gently to create a smooth surface. Repair any loose strands to keep your furniture looking neat and ensure it’s completely dry before you move on.
Next, apply a compatible primer evenly over the wicker. This step is crucial because it helps the spray paint stick better and last longer. Let the primer dry thoroughly before you start painting.
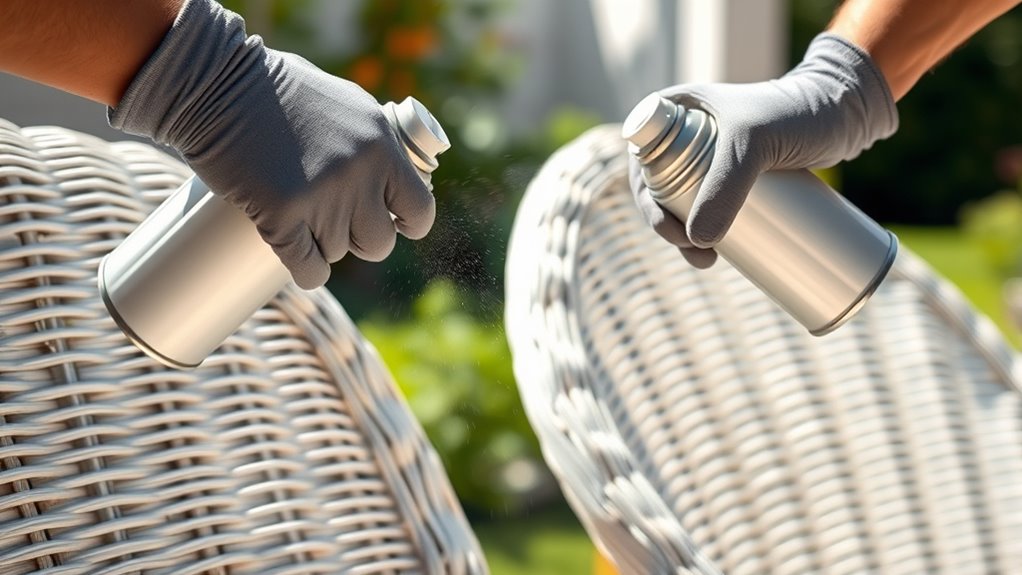
Shake your spray paint can well. Hold it about 10–12 inches away from the surface and spray light, even coats using smooth, side-to-side motions. Remember, multiple thin layers are better than one thick coat—they prevent drips and give you a more durable finish.
Allow each coat to dry fully before applying the next. Keep spraying until you achieve a flawless, long-lasting finish that will revitalize your wicker furniture beautifully. With a bit of patience and care, you’ll love the fresh new look!
Key Takeaways
– Clean and dry wicker thoroughly, removing dirt and loose strands. Sand rough areas for smoothness before painting.
This helps the paint stick better and gives you a nicer finish.
– Apply a compatible primer evenly on wicker to ensure paint adhesion. Allow it to dry completely before moving on.
Priming is key for a long-lasting paint job.
– Shake spray paint can well and hold about 10-12 inches from the surface. This gives you an even application.
Keep the can steady as you spray.
– Use multiple light, smooth coats with side-to-side motions. Allow 10-15 minutes drying time between coats.
Avoid heavy coats to prevent drips.
– Finish with a final light mist coat for a smooth, professional, and durable finish.
Let it dry fully before using your wicker furniture.
Preparing and Priming Wicker Furniture
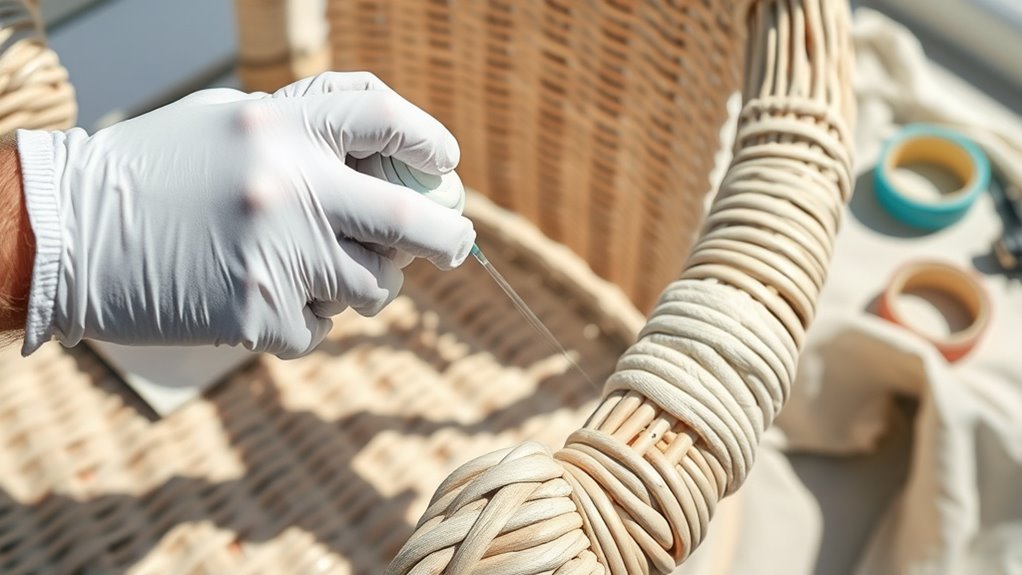
Before you start painting, make sure to remove any loose paint, dirt, and debris from your wicker furniture using a soft-bristle brush or vacuum attachment. Thoroughly cleaning the wicker with a damp microfiber cloth is essential to eliminate dust and surface contaminants that can interfere with spray paint adhesion.
Next, lightly sand any rough or chipped areas using fine-grit sandpaper to smooth the surface and improve primer and paint grip. Inspect your wicker closely and repair any damaged or loose strands by gluing or tightening them, ensuring a stable surface for painting.
Finally, allow the wicker to dry completely, preferably on a warm, windy day. Properly preparing and priming your wicker sets the foundation for a flawless, long-lasting finish.
Spray Painting and Finishing Techniques
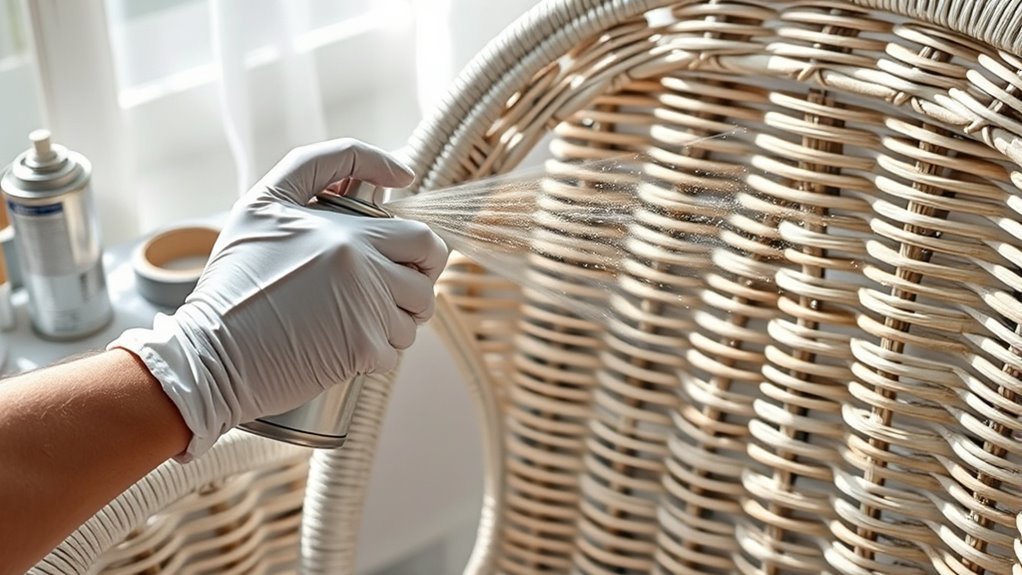
Once you’ve prepped and primed your wicker, you’ll want to shake the spray paint can vigorously for at least a minute to guarantee the color applies evenly. Hold the spray can about 10-12 inches from the surface and use a consistent side-to-side spray pattern.
Apply multiple light coats instead of one thick layer, allowing proper drying time—usually 10-15 minutes—between each. This approach improves adhesion and prevents drips. Use smooth, sweeping motions to avoid spray lines and achieve a smooth finish.
As a finishing technique, apply a final light mist to blend the layers seamlessly. Remember, your primer sets the base, so these spray painting and finishing techniques are essential to assure your wicker furniture looks professionally painted and durable.
Frequently Asked Questions
What Is the Best Spray Paint to Use on Wicker Furniture?
You should use oil-based spray paints like Rust-Oleum Universal or Krylon Fusion for wicker. They’re durable and bond well without priming.
Plus, outdoor formulas resist weather, ensuring your furniture stays vibrant and protected longer. It’s a great choice if you want your wicker to last.
Is It Better to Spray Paint or Brush Paint Wicker Furniture?
It’s better to spray paint wicker furniture for a smooth, even finish and faster drying.
You’ll find brushing works best for touch-ups or detailed areas, but spray paint covers large, uneven surfaces more efficiently overall.
What Kind of Paint Do I Use on Wicker?
You’ll want to use oil-based spray paint for outdoor wicker to guarantee durability.
If you prefer water-based, pick high-quality acrylic or latex labeled for outdoor use.
Always choose paint designed for plastic, resin, or wicker surfaces.
How Should I Prepare Wicker Furniture for Painting?
Want your paint to stick and look great? You’ll clean off dirt and loose paint, sand lightly, and repair any damage.
Don’t forget to let it dry completely before you start spraying for the best results. That way, your paint job will last longer and look smooth!
Conclusion
Now that you’ve prepped and primed your wicker furniture, and given it a fresh coat with your spray paint, you’re ready to enjoy your revamped pieces. Remember, patience is key—like a knight waiting for their trusty steed, let each layer dry fully before moving on.
With these simple steps, your wicker will look timeless and vibrant, ready to brighten any space. Spray painting wicker furniture might seem tricky, but with the right preparation and technique, you can achieve a smooth, even finish that lasts.
Happy painting, and may your furniture outshine even the fanciest iPhone! Your newly spray painted wicker furniture will not only look refreshed but also add a charming, stylish touch to your home décor. So grab your spray paint and get ready to transform your wicker pieces into stunning highlights of any room!