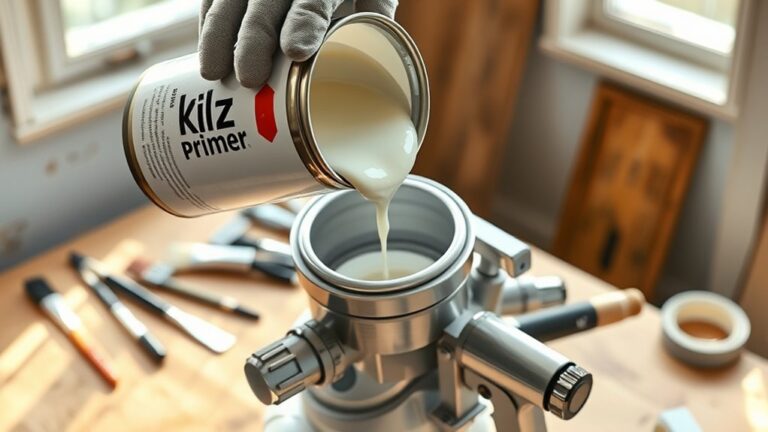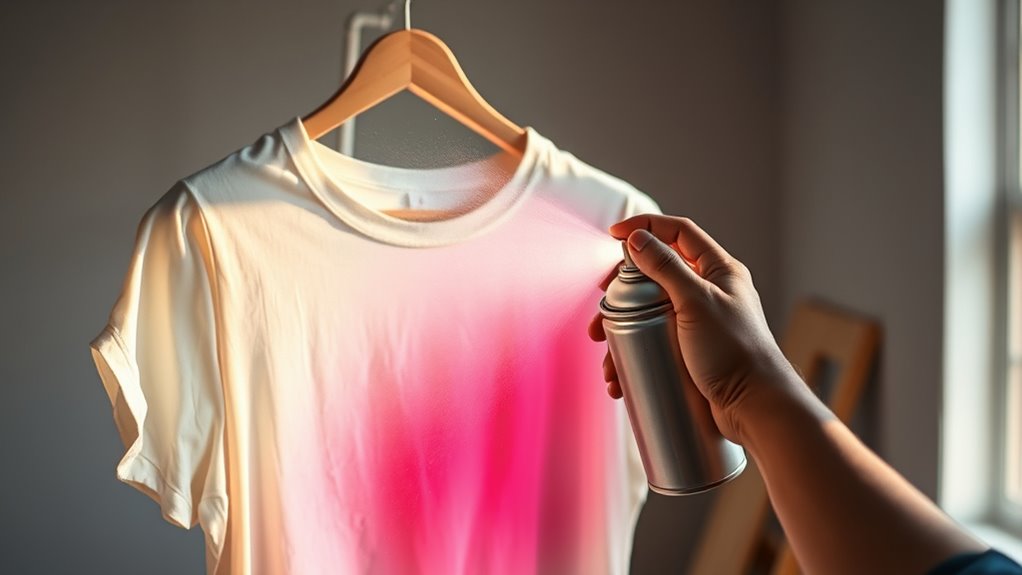
How You Spray Paint a Shirt Step by Step
To spray paint a shirt, start by washing and drying it without fabric softener. This helps the paint stick better and last longer.
Next, insert freezer paper or a shirt form inside the shirt to prevent the paint from bleeding through to the back.
Now, secure your stencil on the shirt using painter’s tape. Don’t forget to cover your workspace to avoid any messy surprises.
Hold the spray paint can about 6-8 inches away from the fabric, and apply light, even coats. This helps you avoid drips and keeps the design crisp.
Once you’ve finished, let the paint dry completely before peeling off the stencils carefully.
Finally, allow the shirt to cure for several hours so your design stays vibrant and lasts through washes.
Keep these tips in mind, and you’ll create a fantastic, personalized shirt every time!
Key Takeaways
- Wash and dry the shirt without fabric softener. Then, pop in a shirt form or some freezer paper inside to stop the paint from bleeding through.
- Next, secure your stencils on the shirt with painter’s tape. Don’t forget to cover the areas around with paper towels to keep overspray at bay.
- Hold the spray can about 6-8 inches away from the shirt. Spray light, even coats over the stencil openings. You can layer colors if you want to get creative.
- Let the paint dry completely before you carefully peel off the stencils and tape. This way, your design won’t smudge.
- Finally, let the shirt dry and cure fully for several hours or overnight. Then, it’s good to go for washing or wearing.
Materials Needed and Shirt Preparation
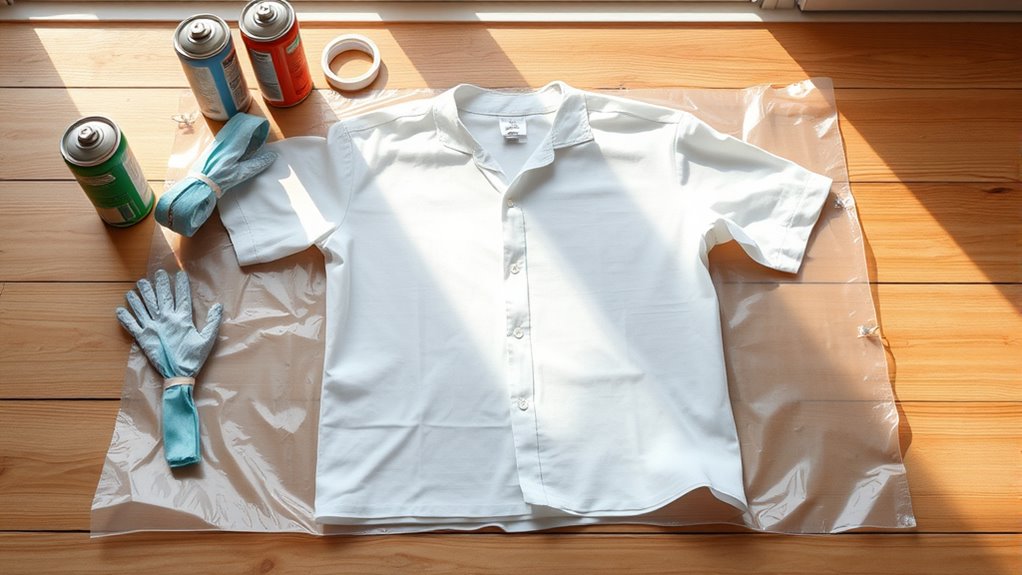
Before you begin spray painting your shirt, gather all the necessary materials, including Tulip ColorShot Fabric Spray in your chosen fall colors, stencils, painter’s tape, paper towels, and a disposable plastic cover for your workspace.
Start by washing and drying the shirt without fabric softener to remove residues that can interfere with paint adhesion. Next, insert a shirt form or a piece of freezer paper inside the shirt to prevent paint bleed-through and keep its shape.
Cover your work surface with the plastic sheet and work in a well-ventilated area to stay safe while using spray paint for fabric. Finally, secure your stencils with painter’s tape, positioning them precisely, and use paper towels to protect the rest of the fabric from overspray.
Step-by-Step Spray Painting and Finishing Process
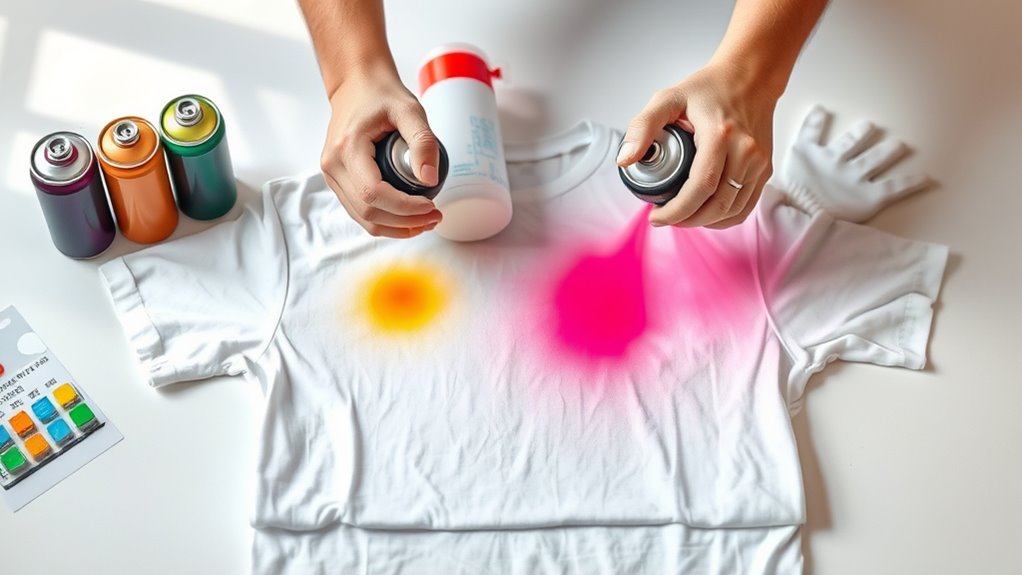
Once your shirt is prepped and your stencils are securely taped in place, you’re ready to start applying the spray paint. Hold your fabric spray paint can about 6-8 inches from the shirt, applying light, even coats over the stencil openings.
With your shirt prepped and stencils taped, spray light, even coats from 6-8 inches away for best results.
Let each layer dry before adding more to avoid smudging. If you want blended or ombre effects, use multiple stencils close together or layer different colors, trimming edges for precision.
After the paint has fully dried, carefully remove the stencils and tape to reveal your design. Finally, let your spray painted shirt dry thoroughly for several hours or overnight.
This ensures the paint sets well, helping you create vibrant, long-lasting paint shirts you’ll love wearing.
Frequently Asked Questions
How to Spray Paint a T-Shirt?
You wash and dry the shirt, insert cardboard inside, then secure your design.
Hold the spray bottle 6-8 inches away, spray light coats evenly, and wait 24-48 hours for the paint to fully dry before use.
How to Permanently Paint on Shirt?
Want your design to last through countless washes? You’ll need fabric spray paint, prep the shirt properly, spray in light coats, let it dry fully, then wash gently.
Don’t rush—permanence takes patience and care! Just take your time, and your shirt will look great for a long time.
Will Spray Paint Work on T-Shirts?
Yes, spray paint designed for fabric works great on T-shirts. You’ll get vibrant, long-lasting designs that won’t crack or peel if you prep the shirt well and apply multiple light coats.
Just make sure to let each coat dry properly before adding the next one. This way, your design will come out looking awesome and last a long time!
What Kind of Paint Do You Use on a Shirt?
You’ll want fabric spray paint, like Tulip ColorShot, which soaks into fibers like morning dew on petals. It’s flexible, water-based, and designed to stick without cracking, ensuring your shirt stays vibrant and comfortable.
It’s perfect for adding color without making the fabric stiff or uncomfortable. Plus, it holds up well after washing, so your design stays looking fresh.
Conclusion
Now that you’ve mastered spray painting your shirt, you’re like a modern-day Jackson Pollock, turning fabric into your personal canvas. Remember, every splash and spray is a brushstroke in your wearable masterpiece.
Keep experimenting, and don’t be afraid to get a little messy—after all, that’s where creativity truly shines. So grab your shirt, channel your inner artist, and let your imagination run wild with every spray.
Spray paint your shirt with confidence, knowing each design is unique and full of personality. This fun and creative process lets you express your style in a bold, colorful way. Ready to make your mark? Your unique style awaits with every spray paint shirt you create!